Have you ever thought about growing your thyme from seed? It’s one of the most useful and fragrant herbs you can add to your garden.
That earthy scent? It makes everything, from roasted chicken to homemade pizza, taste even better.
Thyme is a Mediterranean herb that brings both flavor and beauty, but starting it from seed takes a bit of patience. These tiny seeds need just the right touch to sprout and grow strong.
Here, I’ll walk you through each step, from picking the right variety to harvesting fresh sprigs. If you’re ready to grow something flavorful and rewarding, thyme is a great place to start.
Why Grow Thyme From Seed?
Growing thyme from seed saves money and gives you more choices. A small seed packet costs less than a couple of starter plants, and you’ll end up with way more thyme.
You can also try fun varieties you won’t always find at the store, like lemon thyme or orange thyme. Each kind adds a different flavor to your meals.
It’s also just fun to grow from scratch. Watching those tiny seeds turn into real plants feels rewarding, and it helps you get better at gardening, too.
Choosing the Right Thyme Variety
Here’s a simple chart to help you pick the right thyme for your garden or kitchen. Each type has its flavor and growing style, so it’s good to know what works best for you.
| Thyme Variety | Uses / Flavor | Growing Needs |
|---|---|---|
| Common Thyme | Classic herb; earthy flavor | Full sun; well-draining soil |
| Lemon Thyme | Lemony scent; suitable for fish and teas | Needs warmth; avoid wet soil |
| Creeping Thyme | Ground cover, light scent | Surface-sow; likes sun and moisture |
| French Thyme | Mild taste; good for sauces | Slow grower; prune often; needs warmth |
No matter which kind you choose, thyme is easy to grow once it gets going. Pick the one that fits your space, your taste, or both.
Best Timing for Starting Sowing Thyme Seeds
Getting the timing right helps your thyme grow strong from the start. If you’re starting seeds indoors, do it about 6 to 10 weeks before your last frost date. That gives the seedlings enough time to get ready before heading outside.
Want to sow them straight into the garden? Wait until all frost is gone. These seeds don’t like the cold; even a light frost can stop them.
Thyme grows best in warm conditions. Keep the seed tray between 65 and 75°F to help the seeds sprout. Many people get better results indoors, where it’s easier to control the temperature.
Supplies You’ll Need
Here’s how much you might spend to get your thyme seeds going. Most of these items are affordable, and you may already have a few at home.
| Supply | Estimated Cost Range (USD) |
|---|---|
| Thyme seeds | $2.19–$4.00 |
| Seed-starting trays or pots | $1.50–$25.99 |
| Light, well-draining soil | $2.65–$15.99 |
| Spray bottle | $3.28–$10.00 |
| Grow light or sunny windowsill | $0–$100+ |
Note: Most items are budget-friendly. A windowsill costs nothing, but grow lights can range from $30 to over $100. Costs are estimated and may vary.
How to Grow Thyme From Seed: Step-by-Step Guide
You’ll start thyme from seed using a warm tray and move the seedlings as they grow. Each step is easy to follow, even if you’ve never grown herbs before.
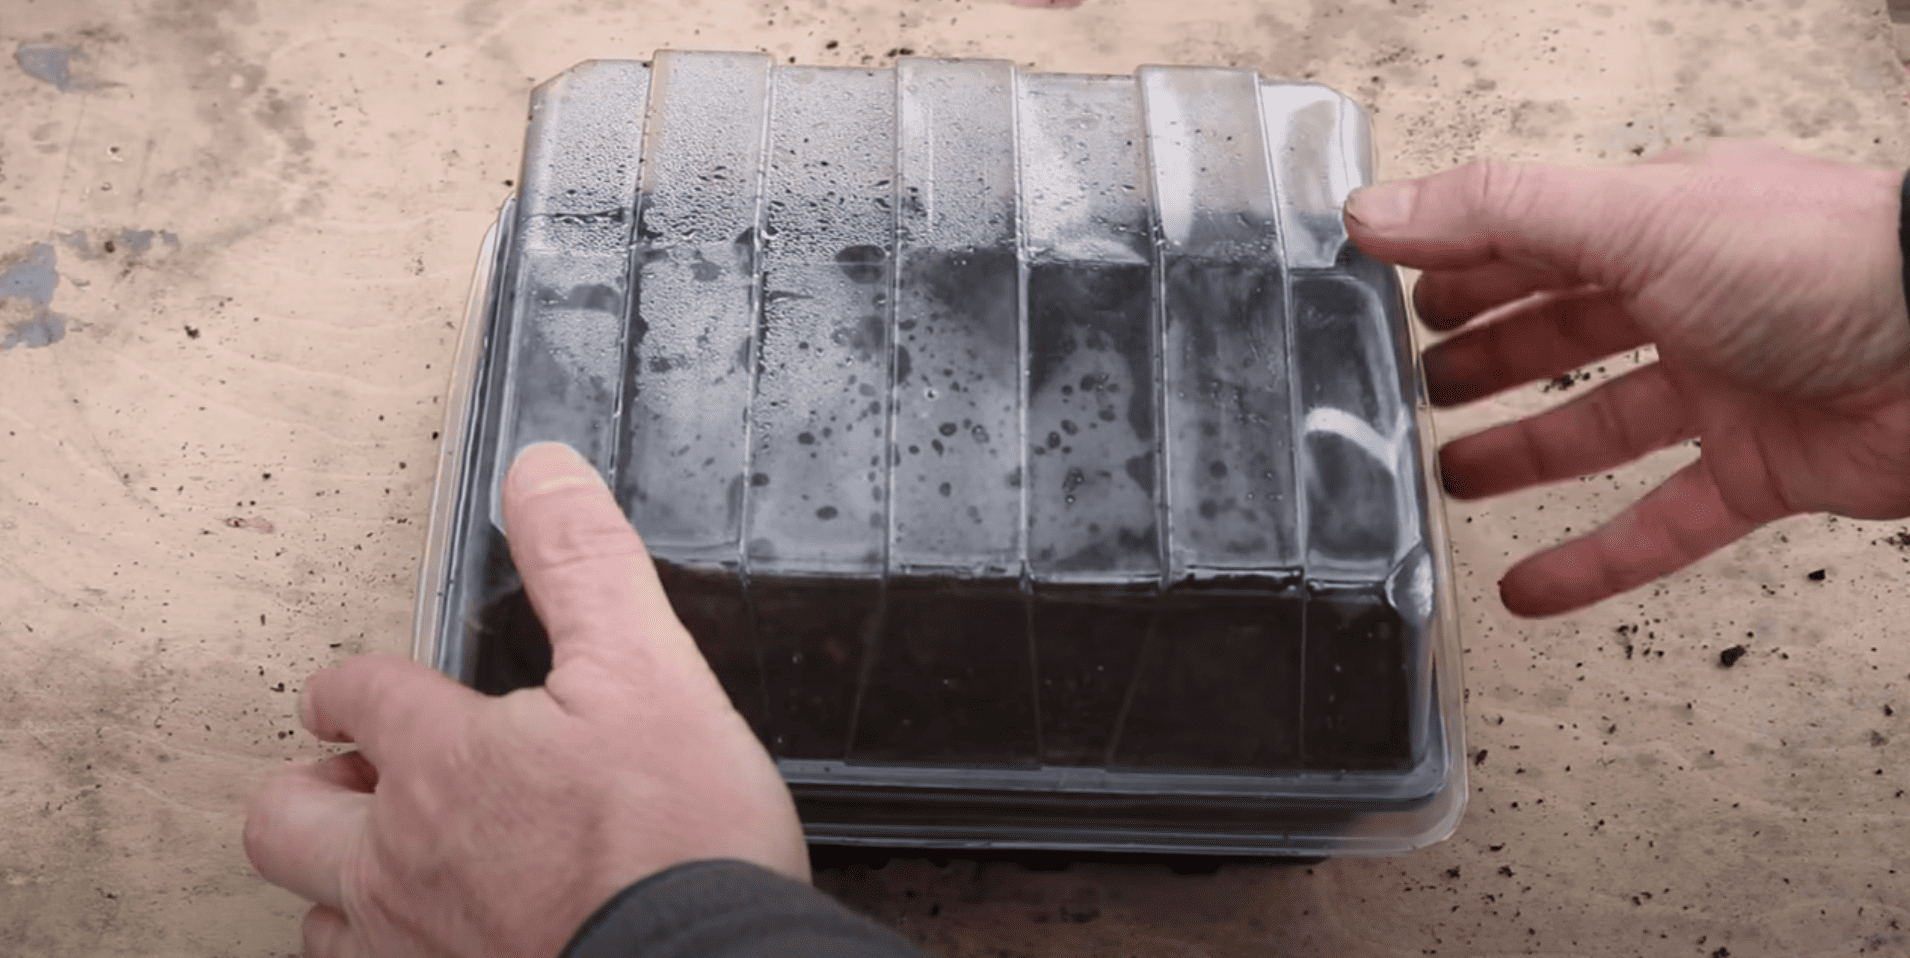
Step 1: Prepare Your Propagator Tray
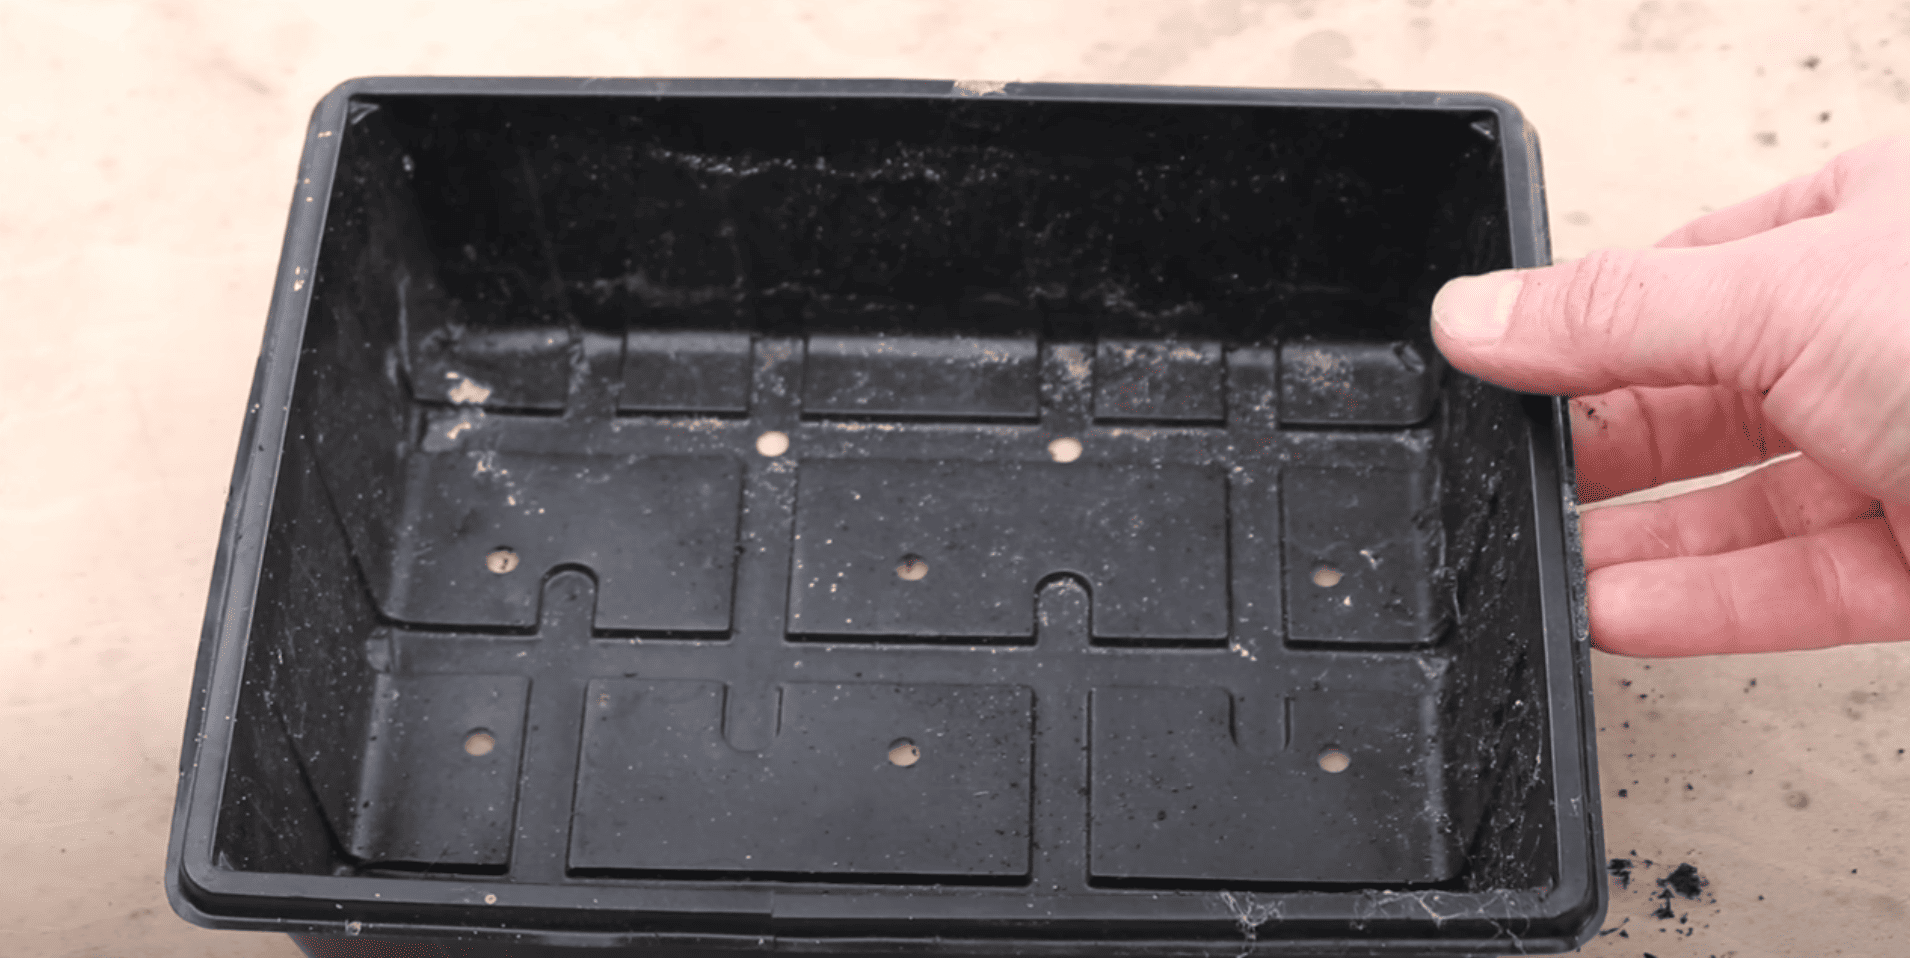
Fill a small tray with fine compost and press it down gently to remove air pockets. Water the compost before planting; this keeps the seeds from floating.
A propagator tray with a clear lid helps trap warmth and moisture.
Pro Tips:
- Use fine compost so the seeds stay put
- Leave space at the top for the lid
- Label your tray to track what’s inside
Step 2: Sow the Thyme Seeds
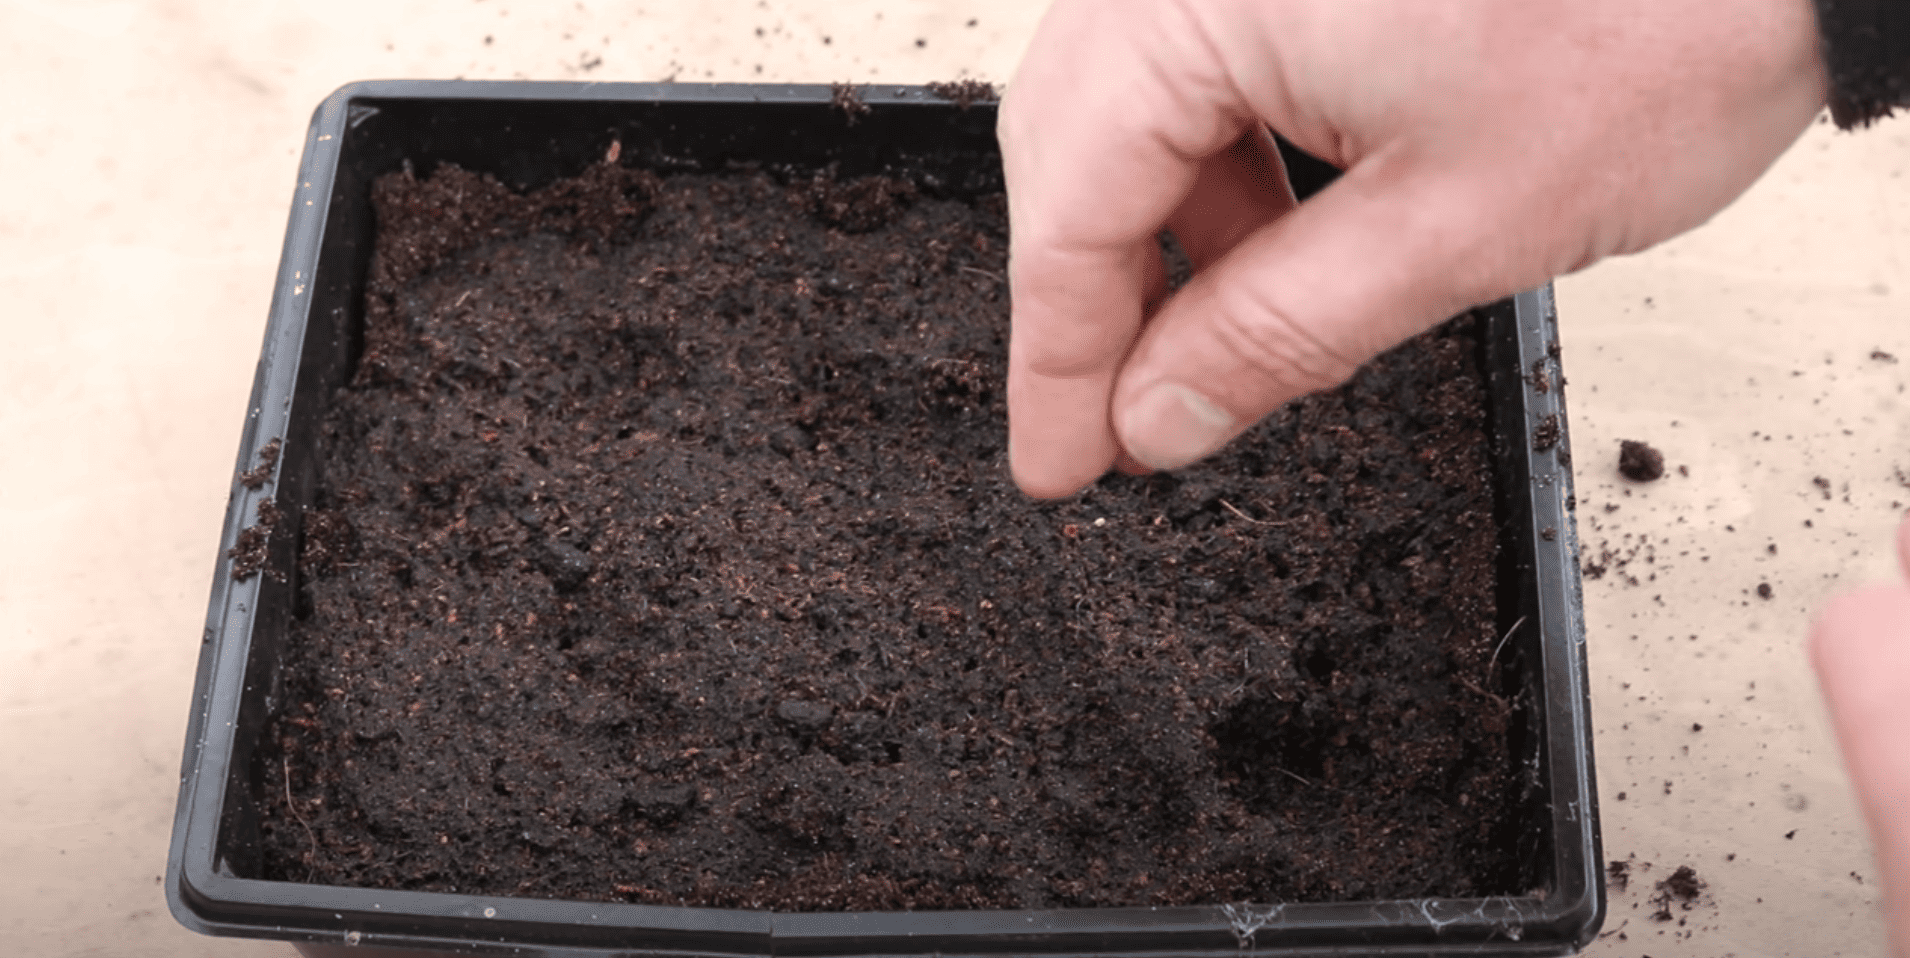
Sprinkle the tiny thyme seeds evenly over the damp compost. Cover them with a very light layer of compost, just enough to hide them.
Press gently to firm the surface.
Pro Tips:
- Use dry fingers or a spoon to handle seeds
- Keep them near the surface—they need light
- Light pressure is enough—don’t compact the soil
Step 3: Cover and Keep Warm
Cover the tray with a clear lid or plastic wrap. Place it somewhere warm and bright, like a sunny windowsill. Mist the surface daily to keep it moist.
Seeds usually sprout in 2–3 weeks. Once they sprout, remove the lid but keep the area warm and slightly humid.
Pro Tips:
- A sunny windowsill offers steady warmth
- Lift the lid daily to prevent mold
- Avoid overwatering; just a light mist
Step 4: Move Seedlings to a Tray
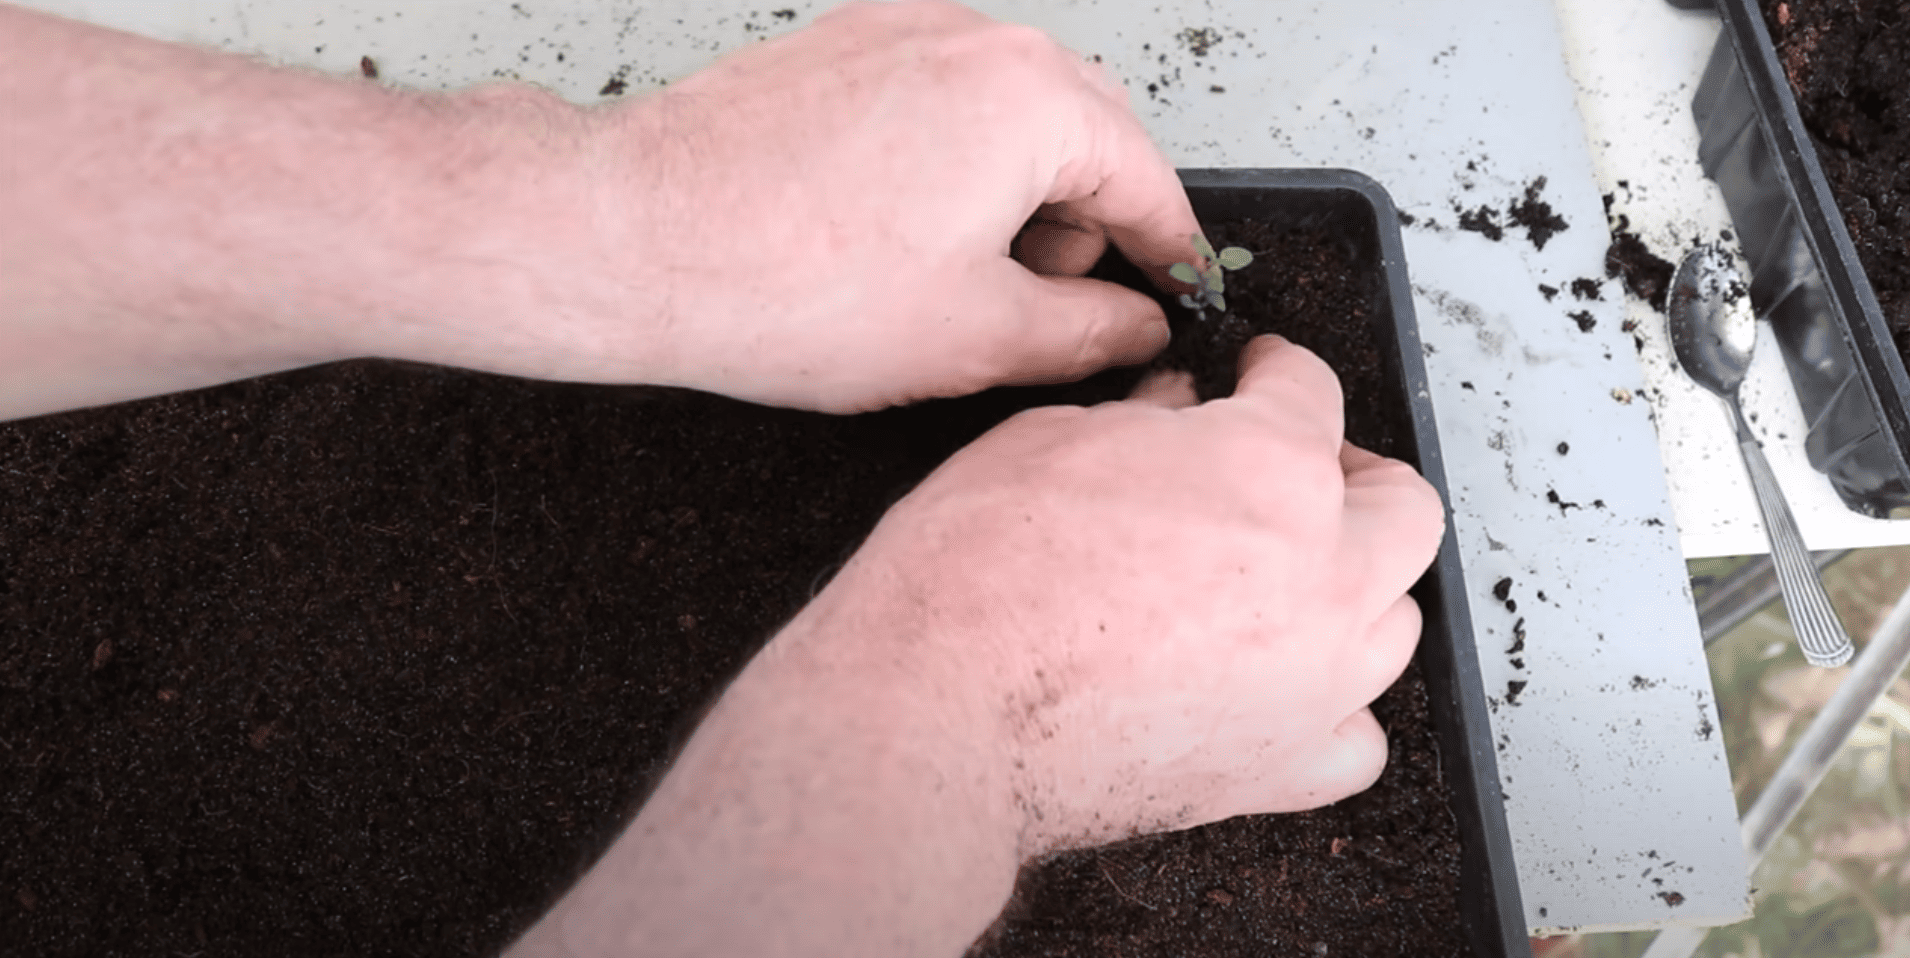
When each seedling has two sets of leaves, gently move them to a new tray with fresh compost.
Lift each one by the leaves, not the stem, and tuck it into a small hole. Press the soil around the roots and water lightly.
Pro Tips:
- Handle the leaves to avoid harm
- Use a pencil tip to poke neat holes
- Space them out to avoid tangled roots
Step 5: Plant Outside or Into Pots
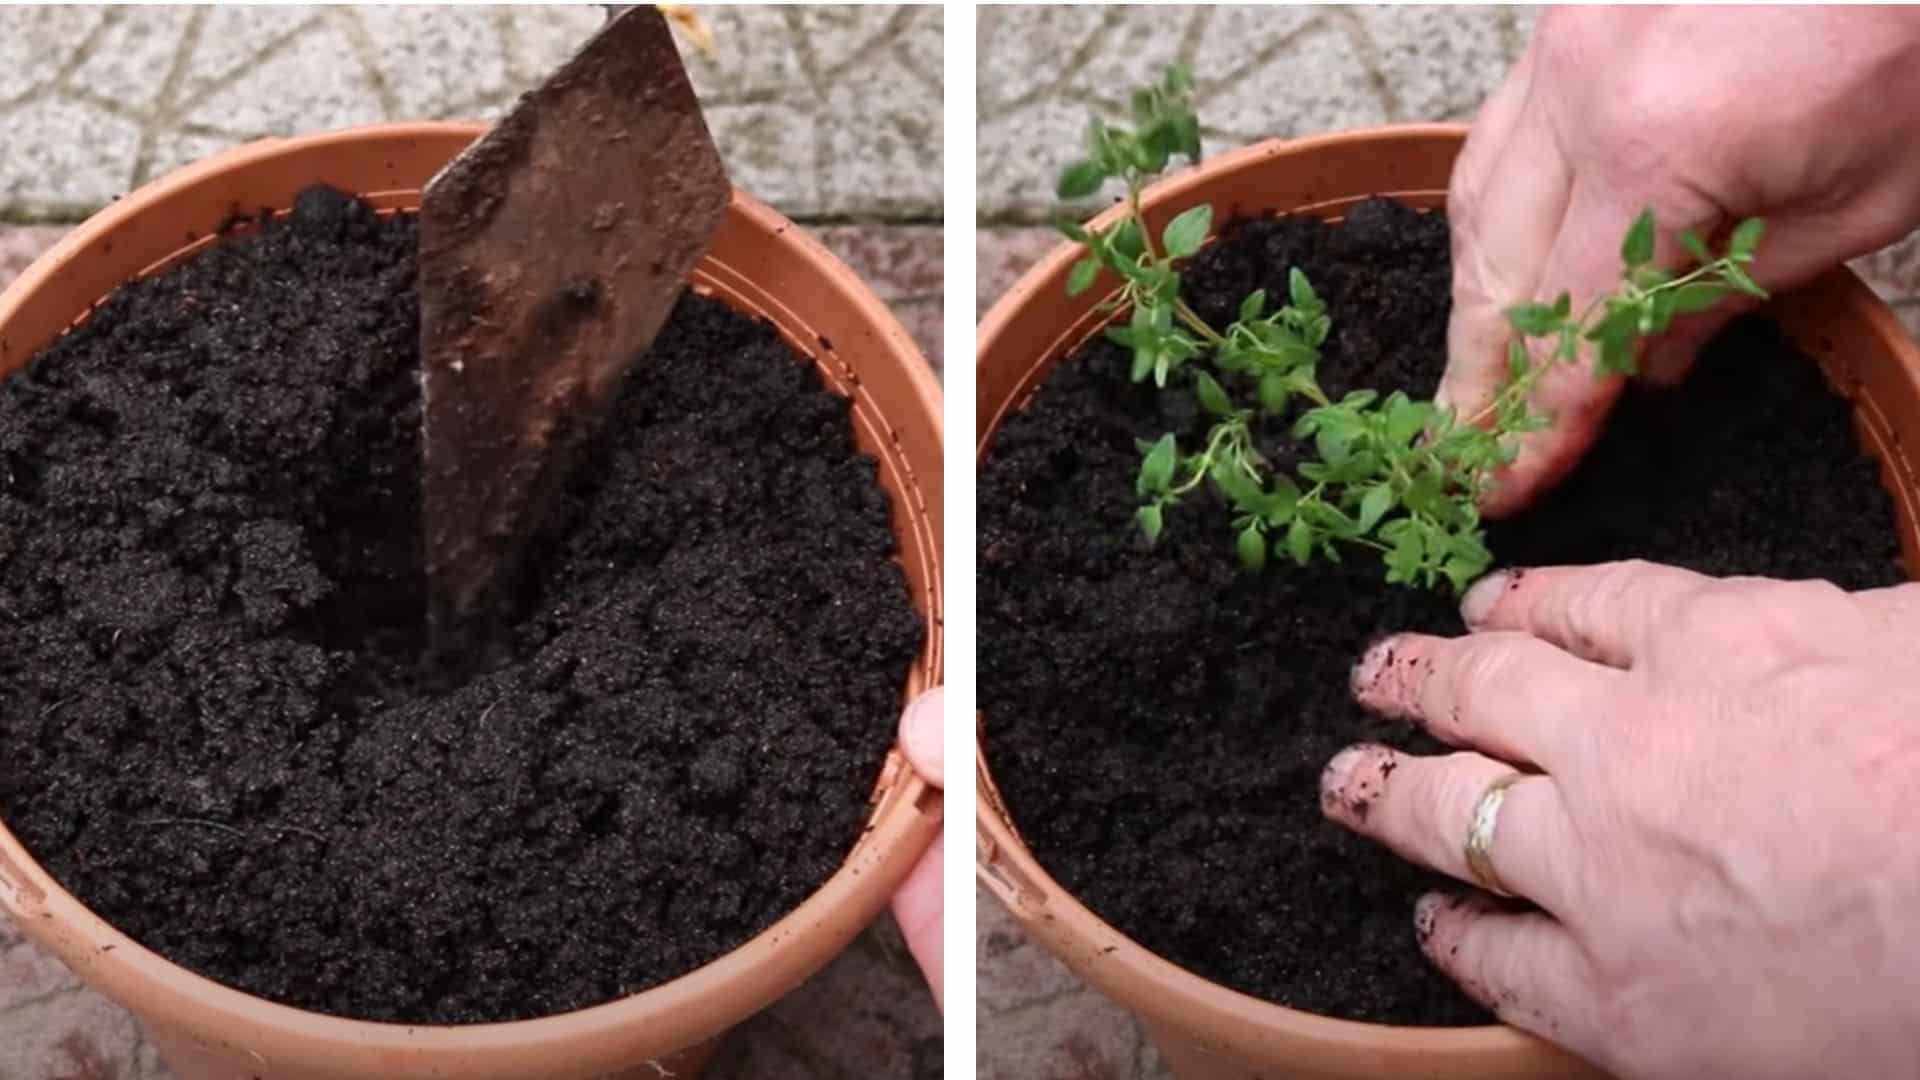
Once frost is no longer a threat, your thyme can go outside or into individual pots. Water first, then dig them out carefully, taking care not to damage their roots. Space them 15 cm apart in full sun.
Add a bit of grit on top to help drainage, then water again.
Pro Tips:
- Choose a spot with full sun all day
- Pick pots with good drainage holes
- Water gently to help roots settle in
Watch How It’s Done: Video Tutorial
For more details, see the video explanation by LearnHow2
Caring for Young Thyme Plants
Young thyme plants do best with a little extra care at the start. Once they settle in, water them lightly and not too often. Too much water can do more harm than not enough.
Good soil makes a big difference. Thyme likes soil that drains well; sandy or rocky soil is perfect. Avoid heavy clay, as it retains water and can cause root rot.
You won’t need much fertilizer. Feeding once or twice during the season is enough. Too much fertilizer can make the plant lose its strong flavor and smell.
Common Issues When Growing From Seed
Growing thyme from seed requires patience, and even seasoned gardeners may encounter problems. Knowing what might go wrong helps you fix it faster and avoid bigger setbacks.
- Mold or damping off: Too much moisture can lead to fungus that kills seedlings at the soil line.
- Leggy seedlings: Without enough light, seedlings stretch too tall and turn out weak.
- Poor germination rate: Old seeds, cold temps, or planting too deep can lower sprouting.
- Slow growth: Thyme naturally grows slowly from seed, so don’t worry if it takes time.
It’s normal to hit a few bumps when learning. Stick with it—most gardeners need a few tries before it clicks.
Harvesting and Using Your Thyme
Once your thyme is about 4 to 6 inches tall and starting to fill out, it’s ready for a light harvest. The best time to snip a few sprigs is in the morning, after the dew dries but before it gets too hot.
Cut just above a leaf pair so the plant continues to grow strong and healthy. Try not to take more than a third of the plant at once so it doesn’t get stressed.
Fresh thyme will last about a week in the fridge if you wrap it in a damp paper towel. Want to save it longer? Tie a few small bundles and hang them upside down in a dry, airy spot.
Once fully dried, store the leaves in an airtight container in a cool, dark place; they’ll retain their flavor for months.
Final Tips for Success
Growing thyme from seed can feel slow at first, but don’t let that discourage you. A few small habits make a big difference and help your plants stay strong from the start.
- Give it time; thyme can take weeks to sprout and a few months to reach harvest size
- Make sure air flows around the seedlings to stop mold and keep them healthy
- Water lightly; too much water causes more trouble than not enough
- Use fresh, high-quality seeds for better results right from the start
Even seasoned gardeners have trouble with thyme seeds sometimes, so don’t worry if things aren’t perfect right away.
Keep at it, and you’ll have healthy, fragrant thyme plants before you know it.
Wrapping It Up
I get it, growing thyme from seed can feel tricky at first. But it’s worth every bit of effort. You’ll save money, research unique varieties, and enjoy that quiet satisfaction of watching tiny seeds grow into fragrant, thriving plants.
Be patient, care for them consistently, and remember, everyone makes mistakes, even seasoned gardeners. Don’t worry if it doesn’t go perfectly the first time.
Give it a shot this season and see what kind of flavor and joy thyme can bring to your garden. Got questions about getting started? Drop them in the comments; I’d love to help you grow!