Want to grow your superfood in less than a week, no soil or fancy tools needed? Broccoli sprouts are tiny, young broccoli plants harvested just a few days after they sprout.
These little greens may look light, but they pack up to a hundred times more sulforaphane than mature broccoli, making them a powerful (and easy-to-digest) addition to your meals.
Growing them at home costs just pennies per serving compared to store-bought packs, and you get fresh, nutrient-packed sprouts whenever you want.
They’re great for your immune system and simple enough for beginners.
Here, I’ll show you the different ways to grow broccoli sprouts, the basic supplies you’ll need, clear step-by-step instructions, and easy fixes for common problems.
Let’s get started!
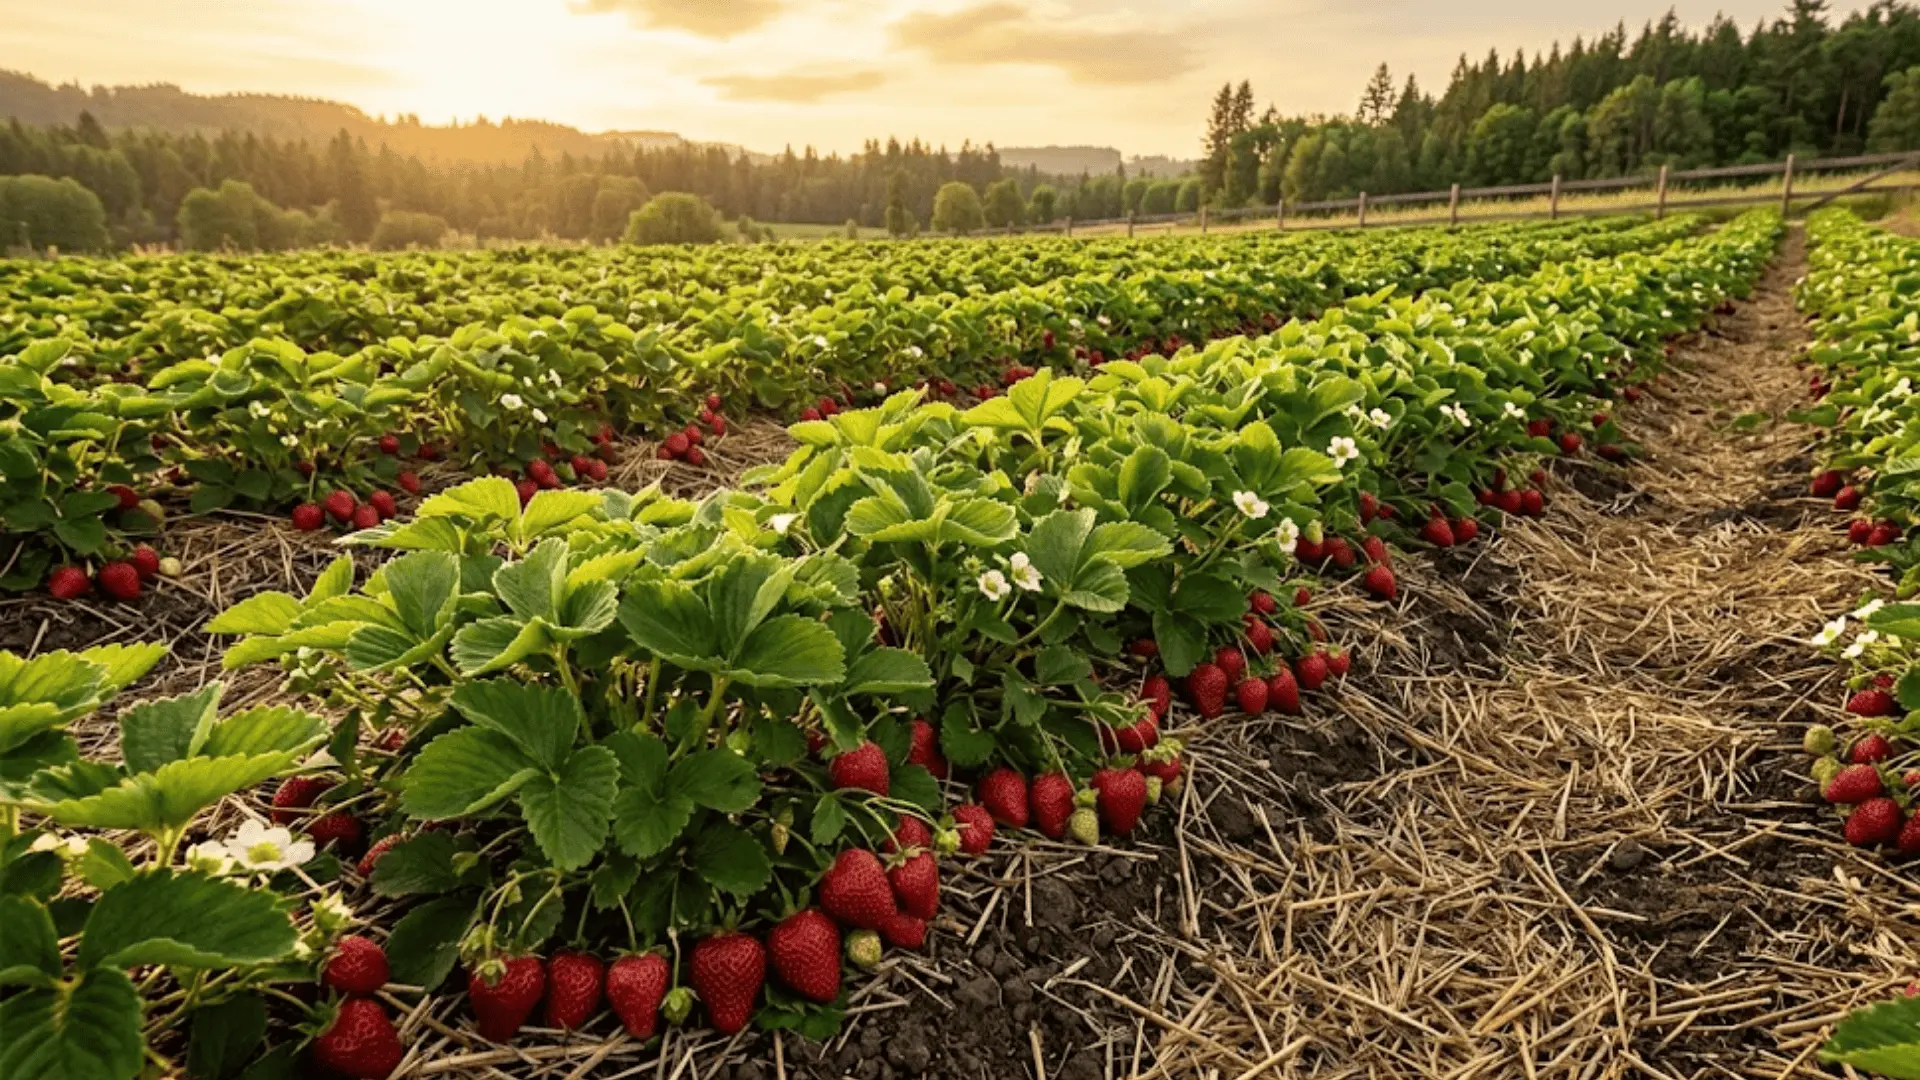
Why Grow Broccoli Sprouts at Home?
Making your broccoli sprouts is a smart, simple way to boost your health without spending a lot. These little greens are loaded with nutrients, especially sulforaphane, which helps your body fight stress and inflammation.
In fact, they’ve got way more of it than fully grown broccoli.
Store-bought sprouts can cost $3–5 per pack, but when you grow them yourself using bulk seeds, the cost is just pennies per serving.
Plus, you know exactly what you’re eating, no weird sprays or preservatives.
You can grow them fresh whenever you want, so you’re never stuck waiting for the store to restock. It’s an easy win for your health and your budget.
Your revised section reads well! It’s clear, friendly, and easy to follow. Here’s a lightly polished version with improved flow and rhythm, while keeping your tone and structure intact:
Different Methods to Make Broccoli Sprouts
You don’t need any fancy equipment to grow broccoli sprouts at home. Here are five simple methods you can try, each with its setup and perks.
| Method | Key Features | Best For |
|---|---|---|
| Mason Jar Method | Easy setup using a jar and mesh lid | First-time growers |
| Sprouting Tray Method | Stackable trays that hold bigger batches | Larger households |
| Hemp Bag Method | Breathable, natural fiber bag that’s portable | Eco-minded sprouters |
| Paper Towel Method | Seeds grown between moist towels—easy to observe | Kids or classroom demos |
| Automatic Sprouter | An electric device that rinses and drains for you | Busy daily users |
All of these methods can work great; you just need to pick one that suits your routine and space. If you’re just getting started, go with the mason jar method.
It’s easy, reliable, and perfect for learning the basics.
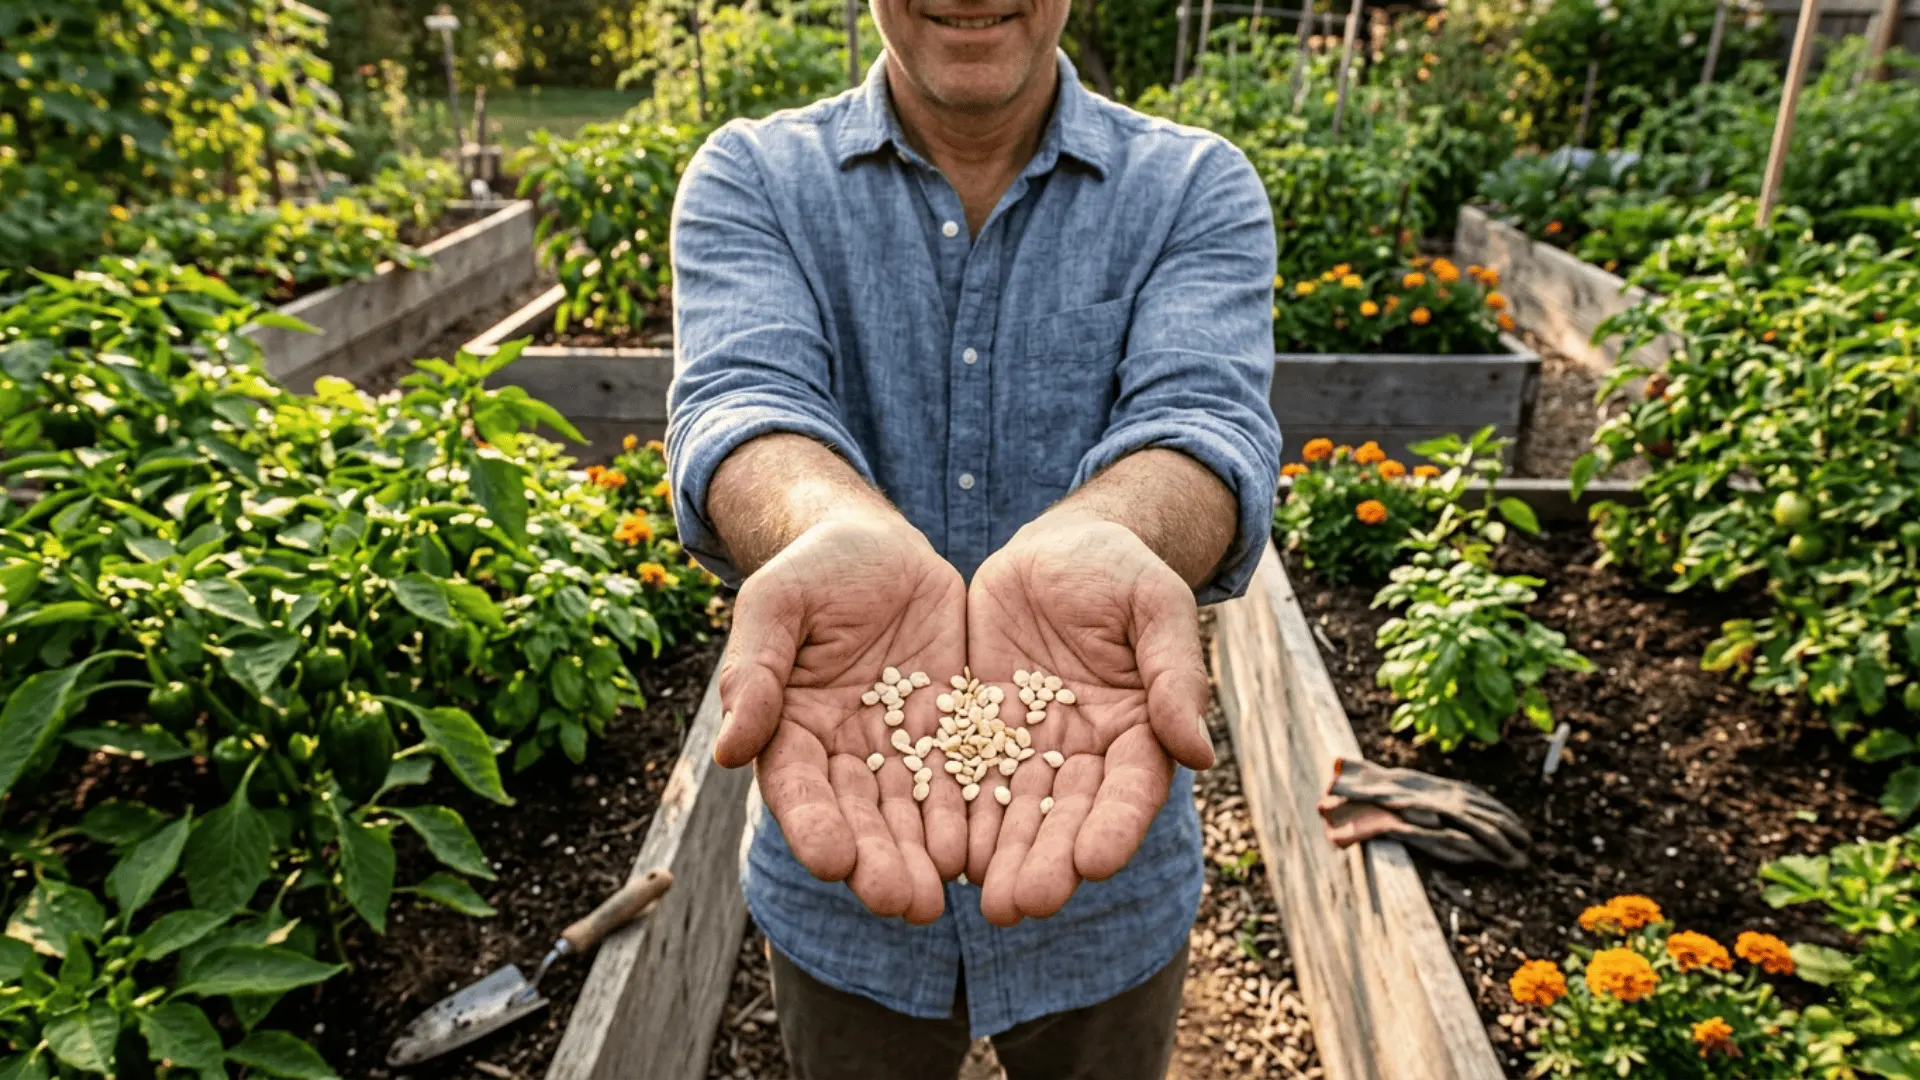
Supplies You’ll Need to Sprout Broccoli
Starting your broccoli sprouts is simple, and chances are, you already have most of what you need at home.
The best part? These supplies are budget-friendly and reusable for batch after batch.
- Broccoli sprouting seeds (look for non-treated, organic if possible)
- A wide-mouth mason jar or a sprouting tray
- Sprouting lid or mesh screen (to allow airflow and easy rinsing)
- Clean water (filtered is best, but not required)
- Dark cabinet or shaded area (to keep sprouts out of direct light early on)
- Bowl (to catch drainage if using a jar setup)
Once you’ve gathered these basics, you’re all set to grow fresh, nutrient-packed sprouts at home. Most of these items cost under $20 and will continue to work for dozens of sprouting cycles.
Step-by-Step Guide to Making Broccoli Sprouts
Growing your broccoli sprouts is easier than you think, and only takes about 5 or 6 days from start to finish.
All you need to do is soak the seeds overnight, rinse them twice a day, and let nature take its course.
Step 1: Soak the Seeds Overnight
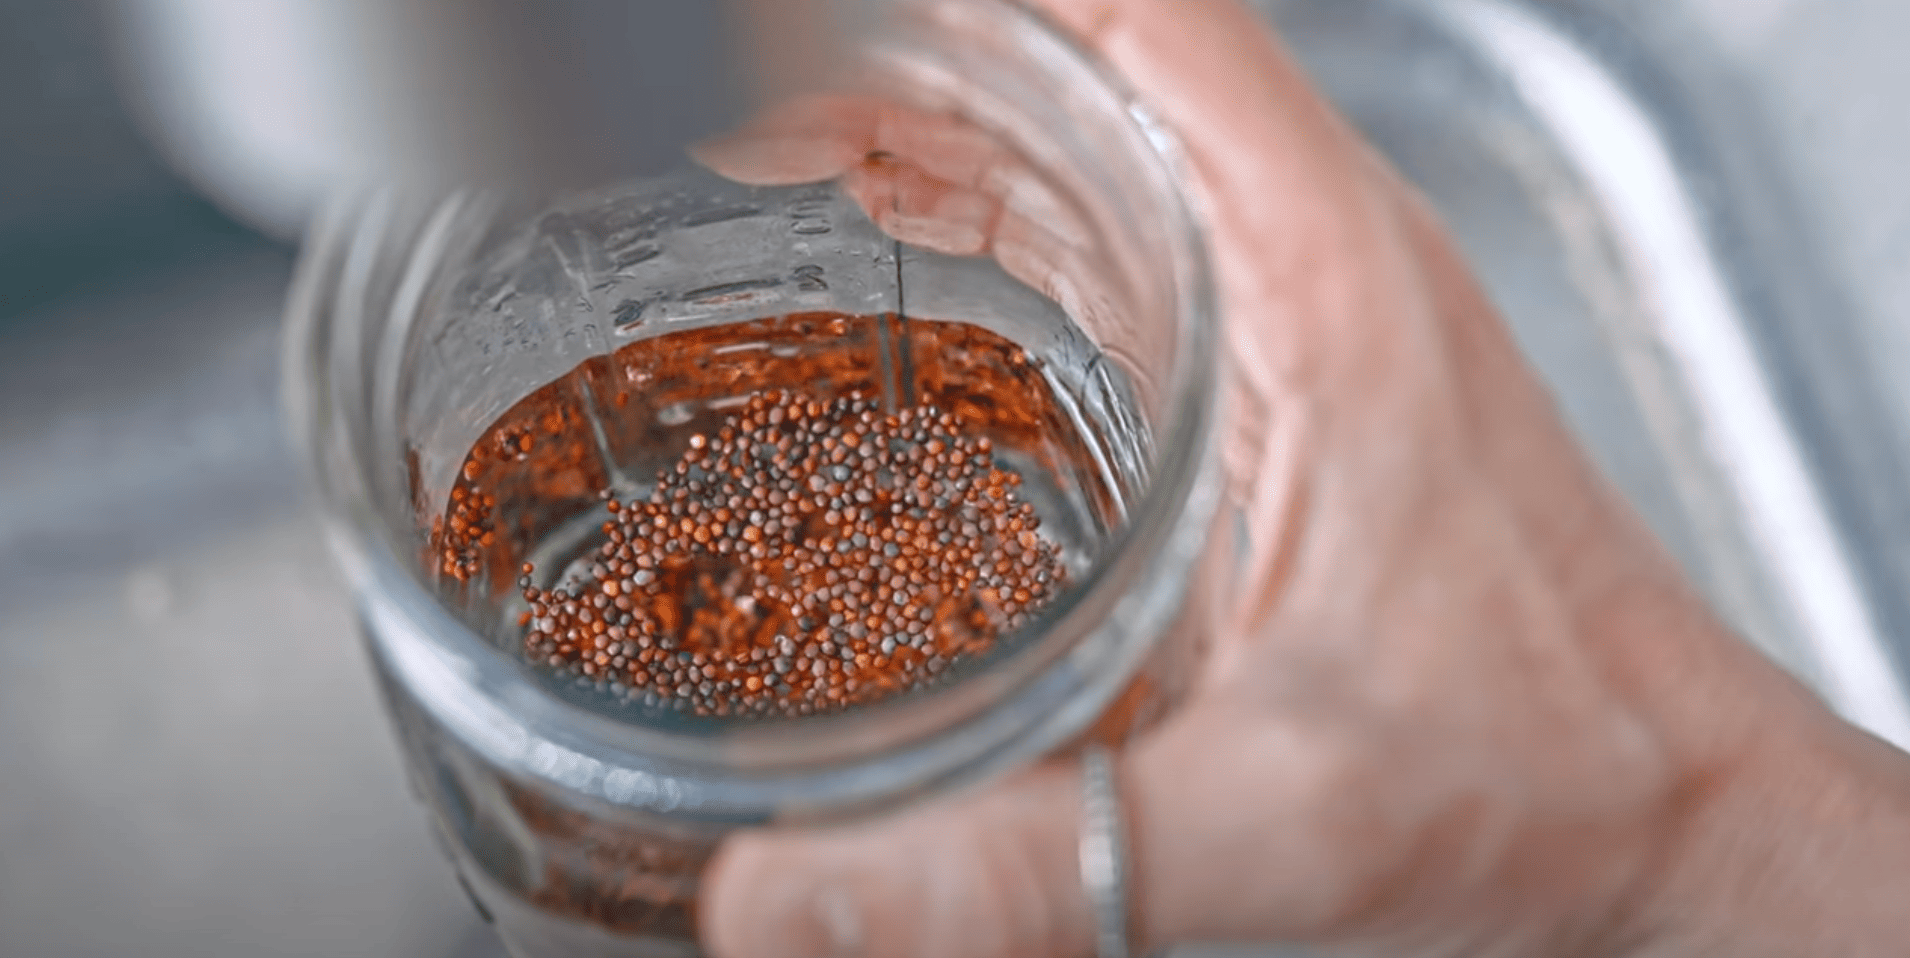
Grab a tablespoon or two of broccoli sprouting seeds and drop them into a clean mason jar.
Fill the jar with water and let it sit overnight; 8 to 12 hours is ideal. This gives the seeds a nice head start.
Quick Tips:
- One tablespoon is plenty—it’ll grow to fill the whole jar.
- Filtered water works best if you have it.
- Cover the jar loosely with a mesh lid or cloth.
Step 2: Rinse and Drain Each Day
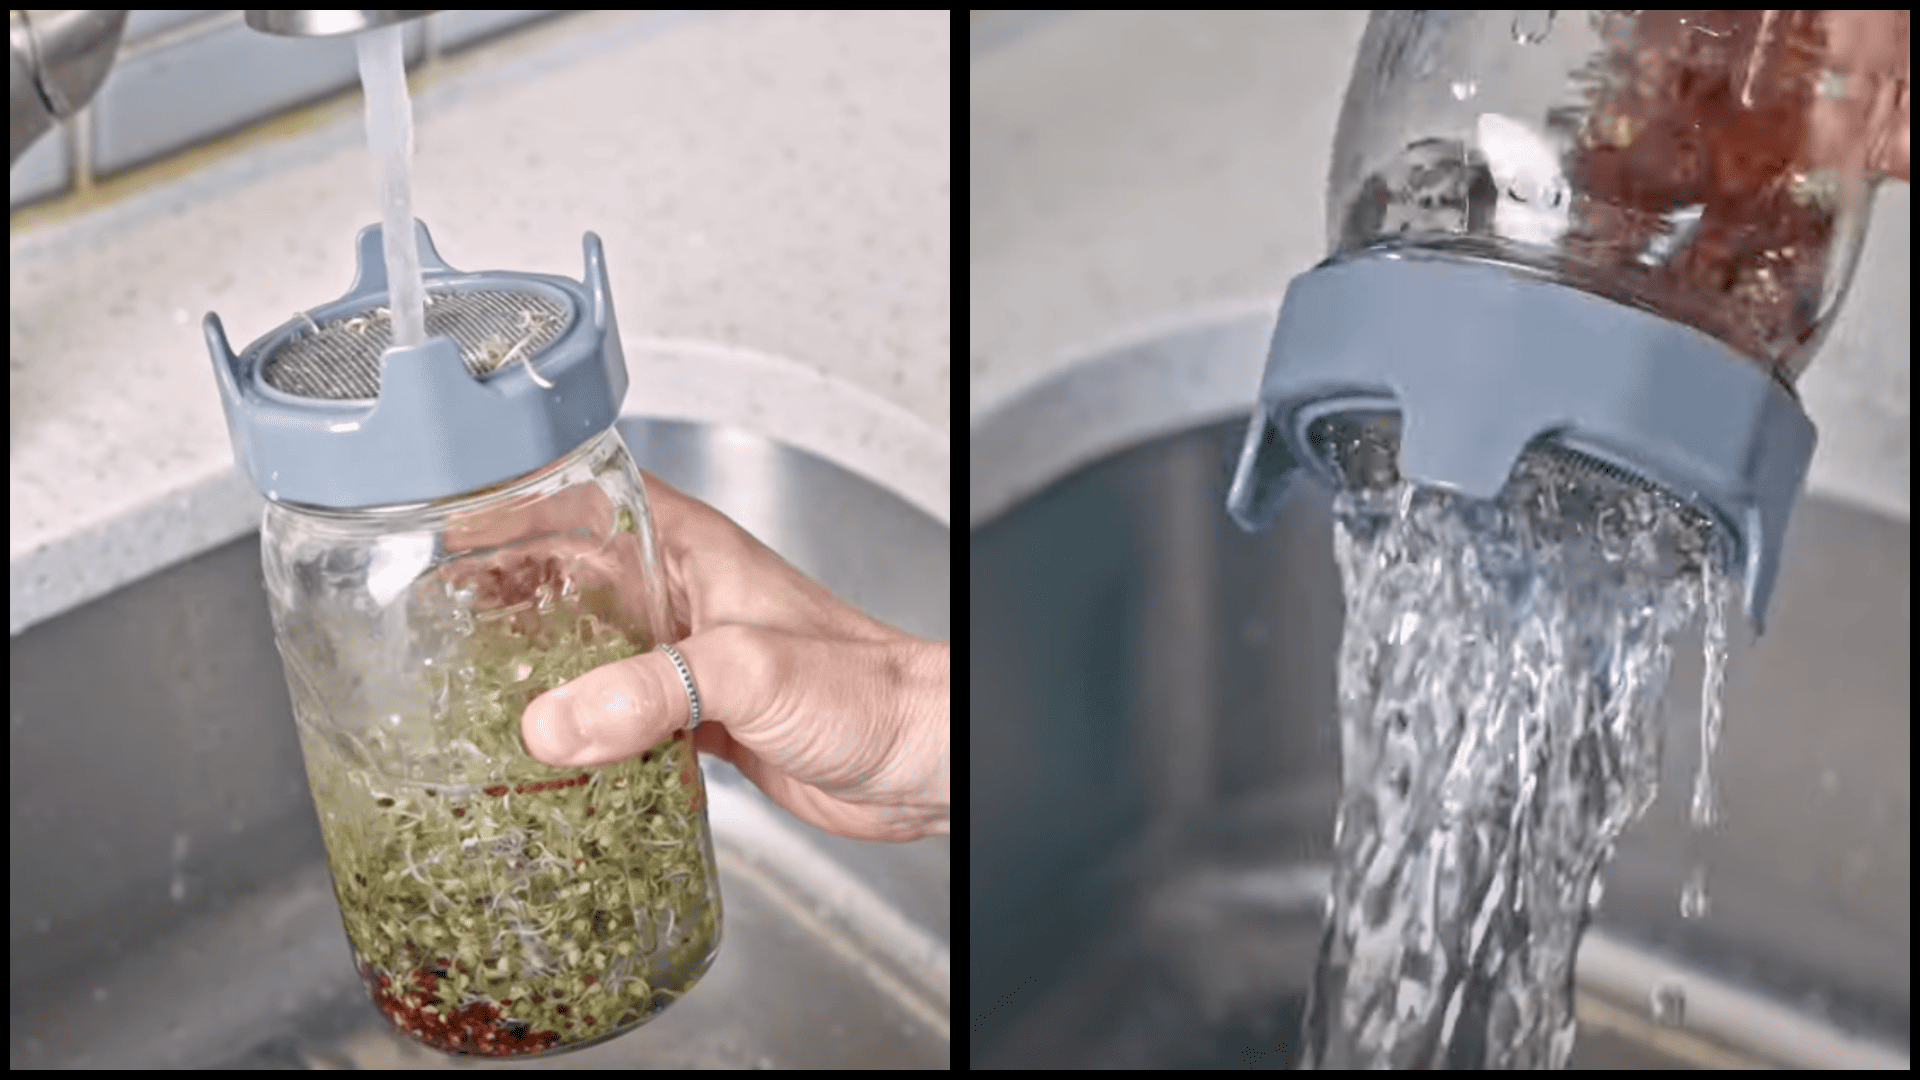
The next morning, pour out the soaking water. From now on, rinse the seeds with fresh water twice a day, once in the morning, once in the evening.
After rinsing, drain the jar well and set it at an angle so extra water drips out.
Quick Tips:
- Be gentle while rinsing to avoid damaging tender sprouts.
- Let them drain fully; sitting water can cause mold.
- A mesh lid or breathable cloth makes rinsing easy.
Step 3: Keep Them in a Dark, Breezy Spot
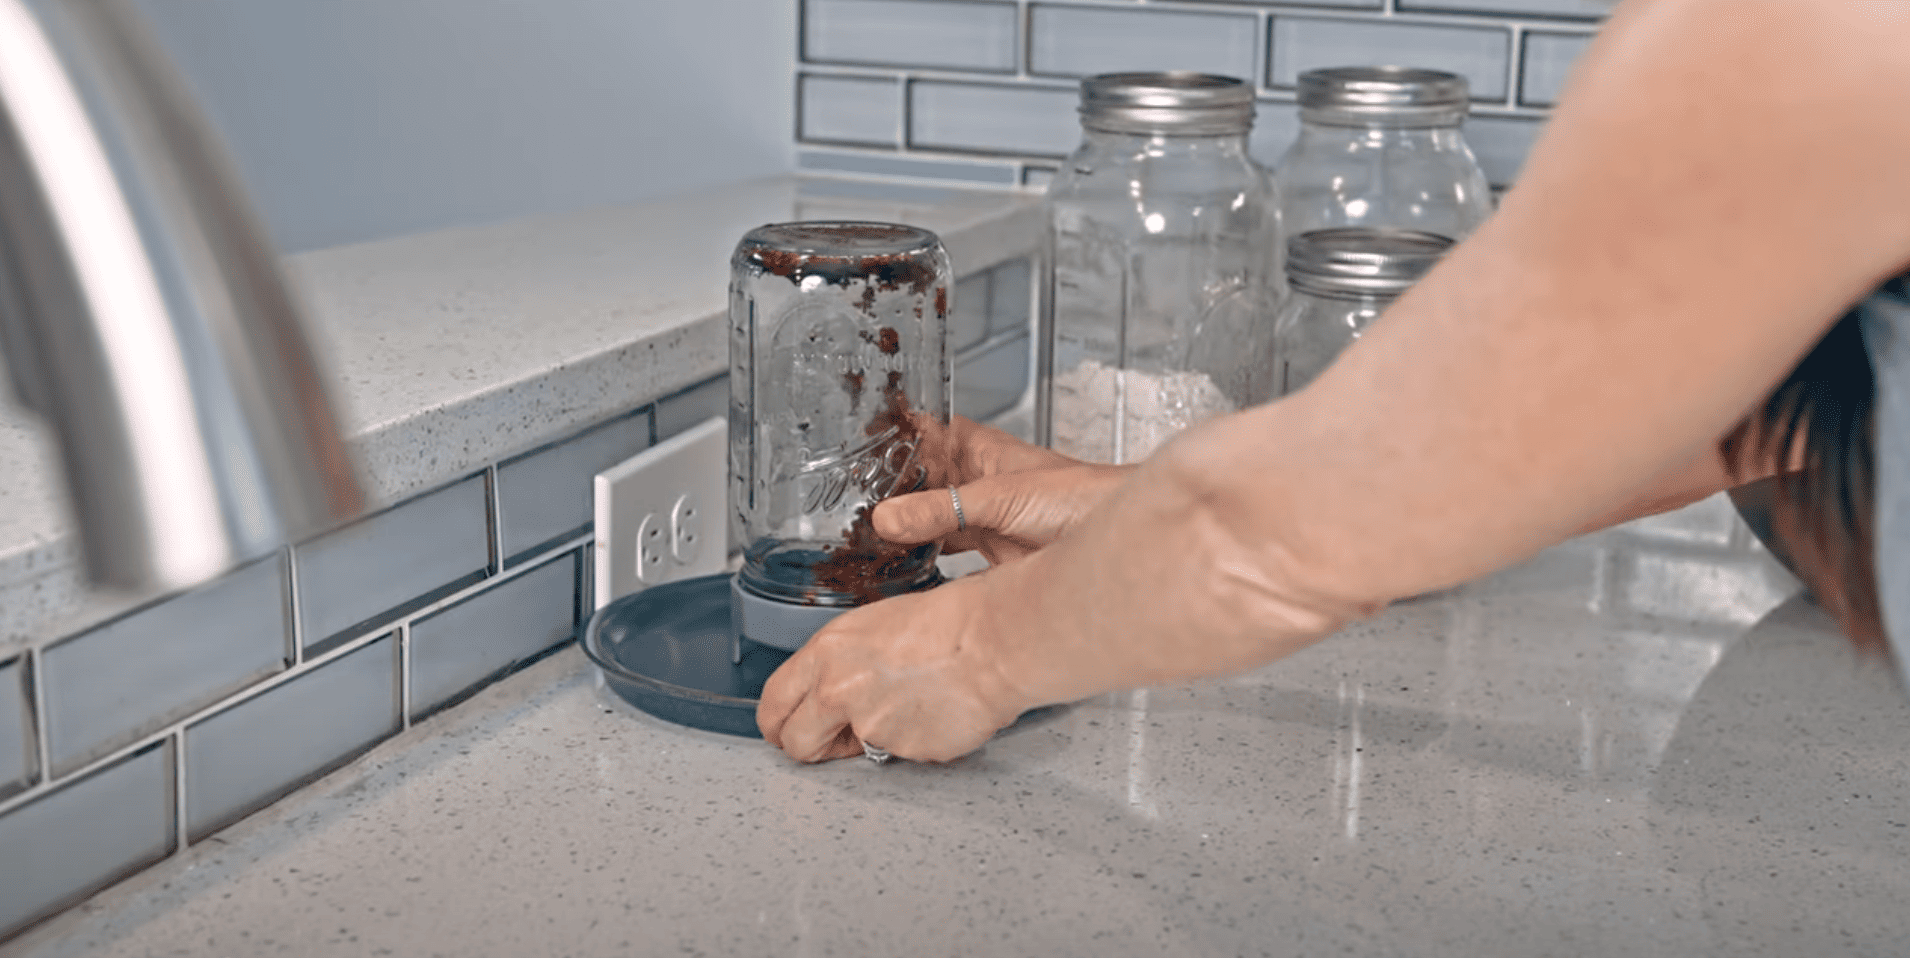
For the first few days, place the jar in a dark and airy location.
A kitchen counter or pantry shelf works great. Good airflow is key to keeping your sprouts happy and healthy.
Quick Tips:
- Skip sealed cabinets—sprouts need to breathe.
- Keep them out of direct sunlight at this stage.
- Tilt the jar upside down for better drainage.
Step 4: Let Them See Some Light
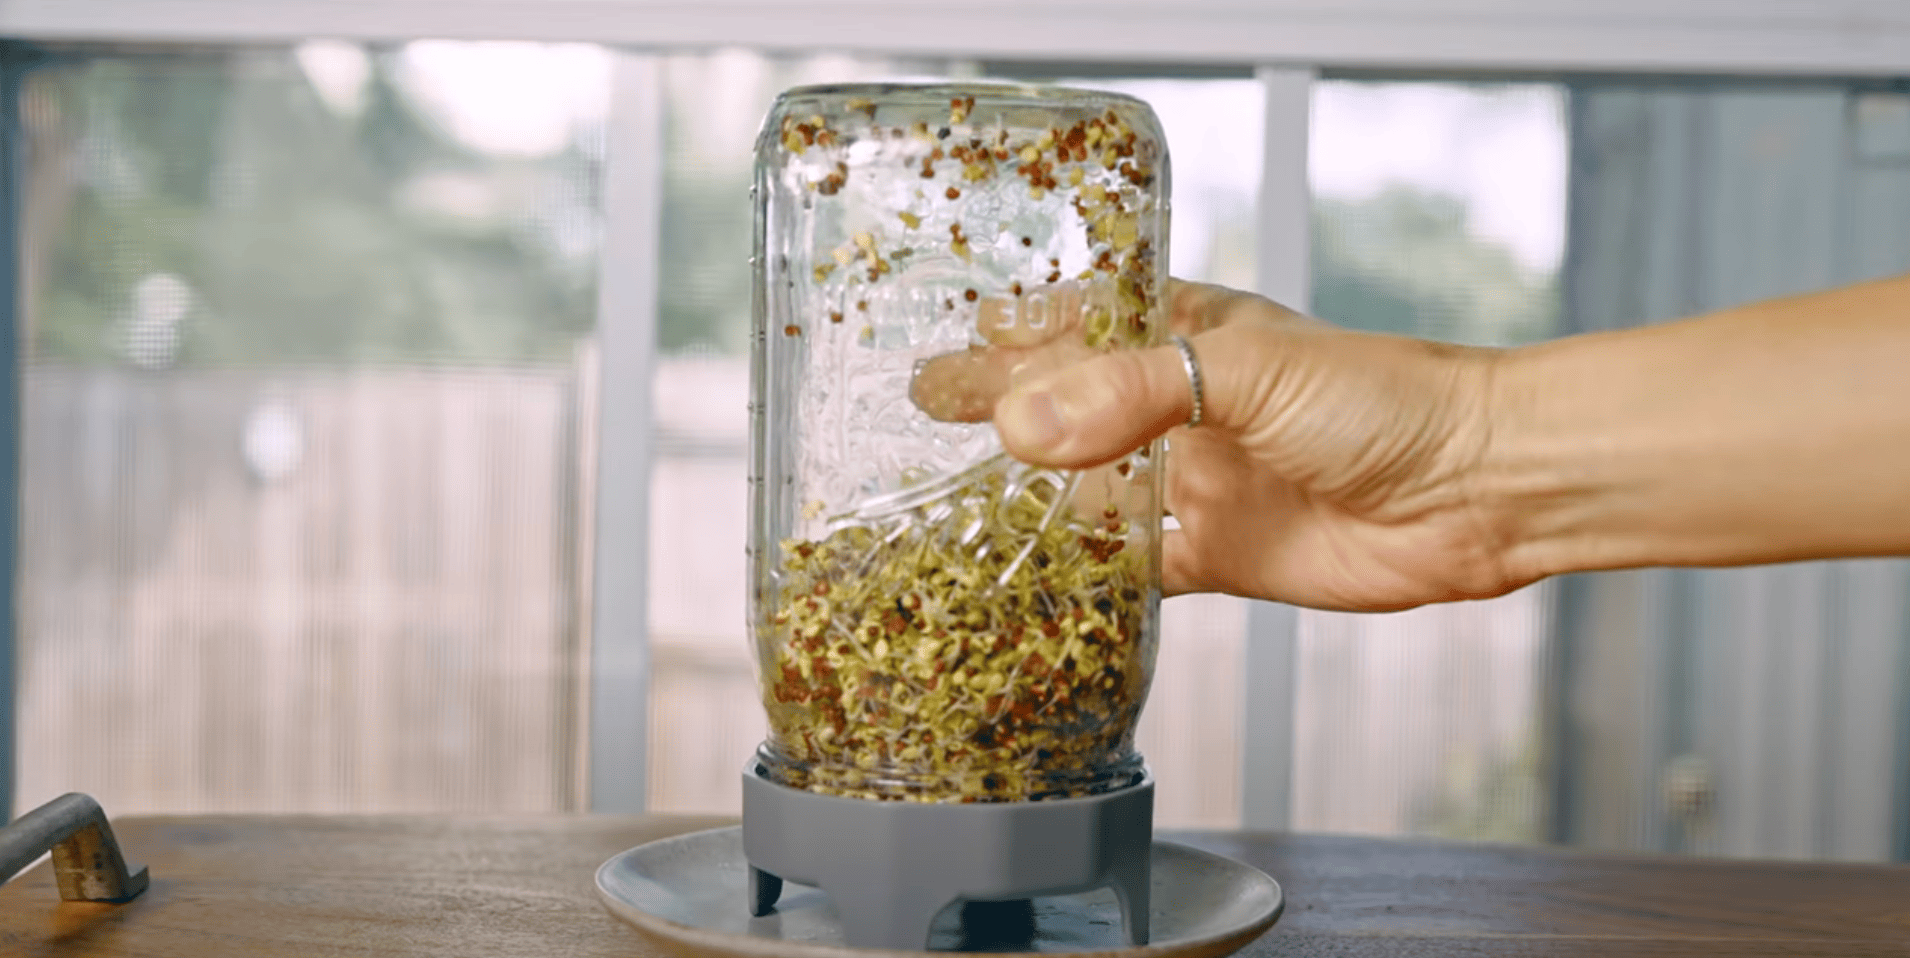
Once the sprouts are about an inch tall with tiny leaves (usually around day 4), move the jar to a spot with indirect sunlight.
This helps them become greener and even more nutritious.
Quick Tips:
- A windowsill with soft light is perfect.
- Don’t put them in harsh sun; it’ll dry them out.
- Keep up the twice-a-day rinsing.
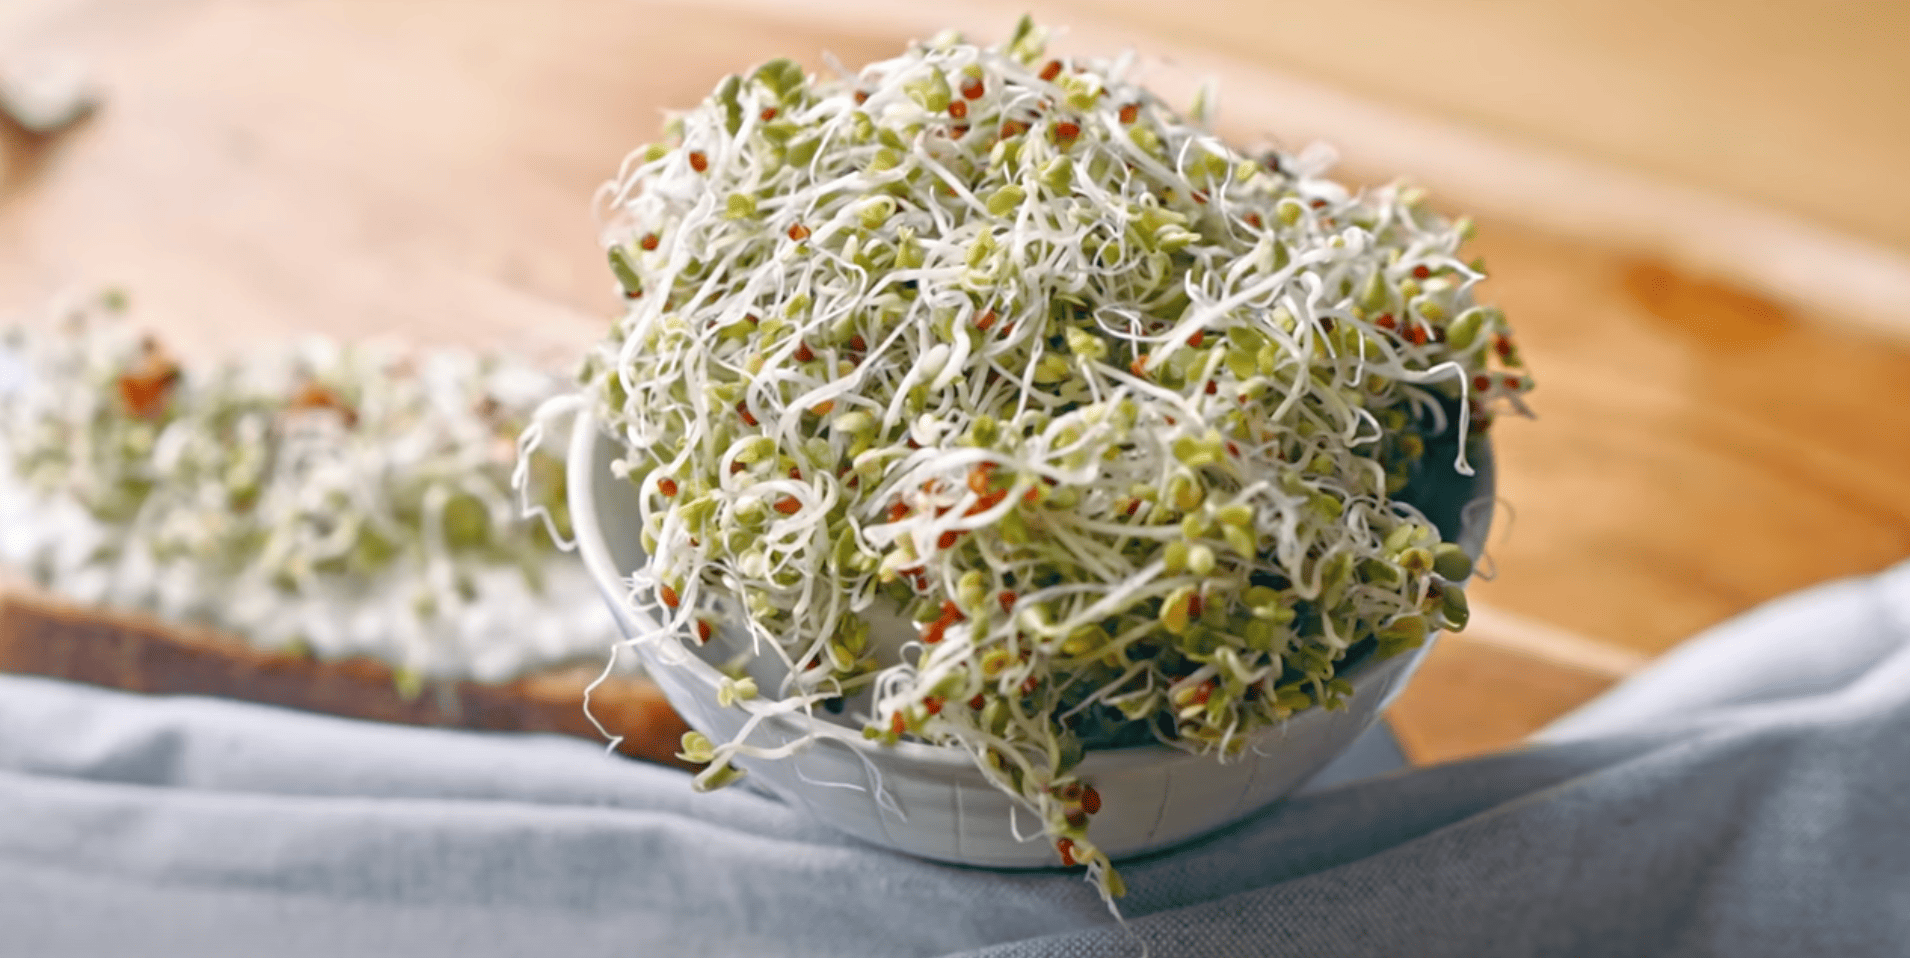
Step 5: Rinse and Dry
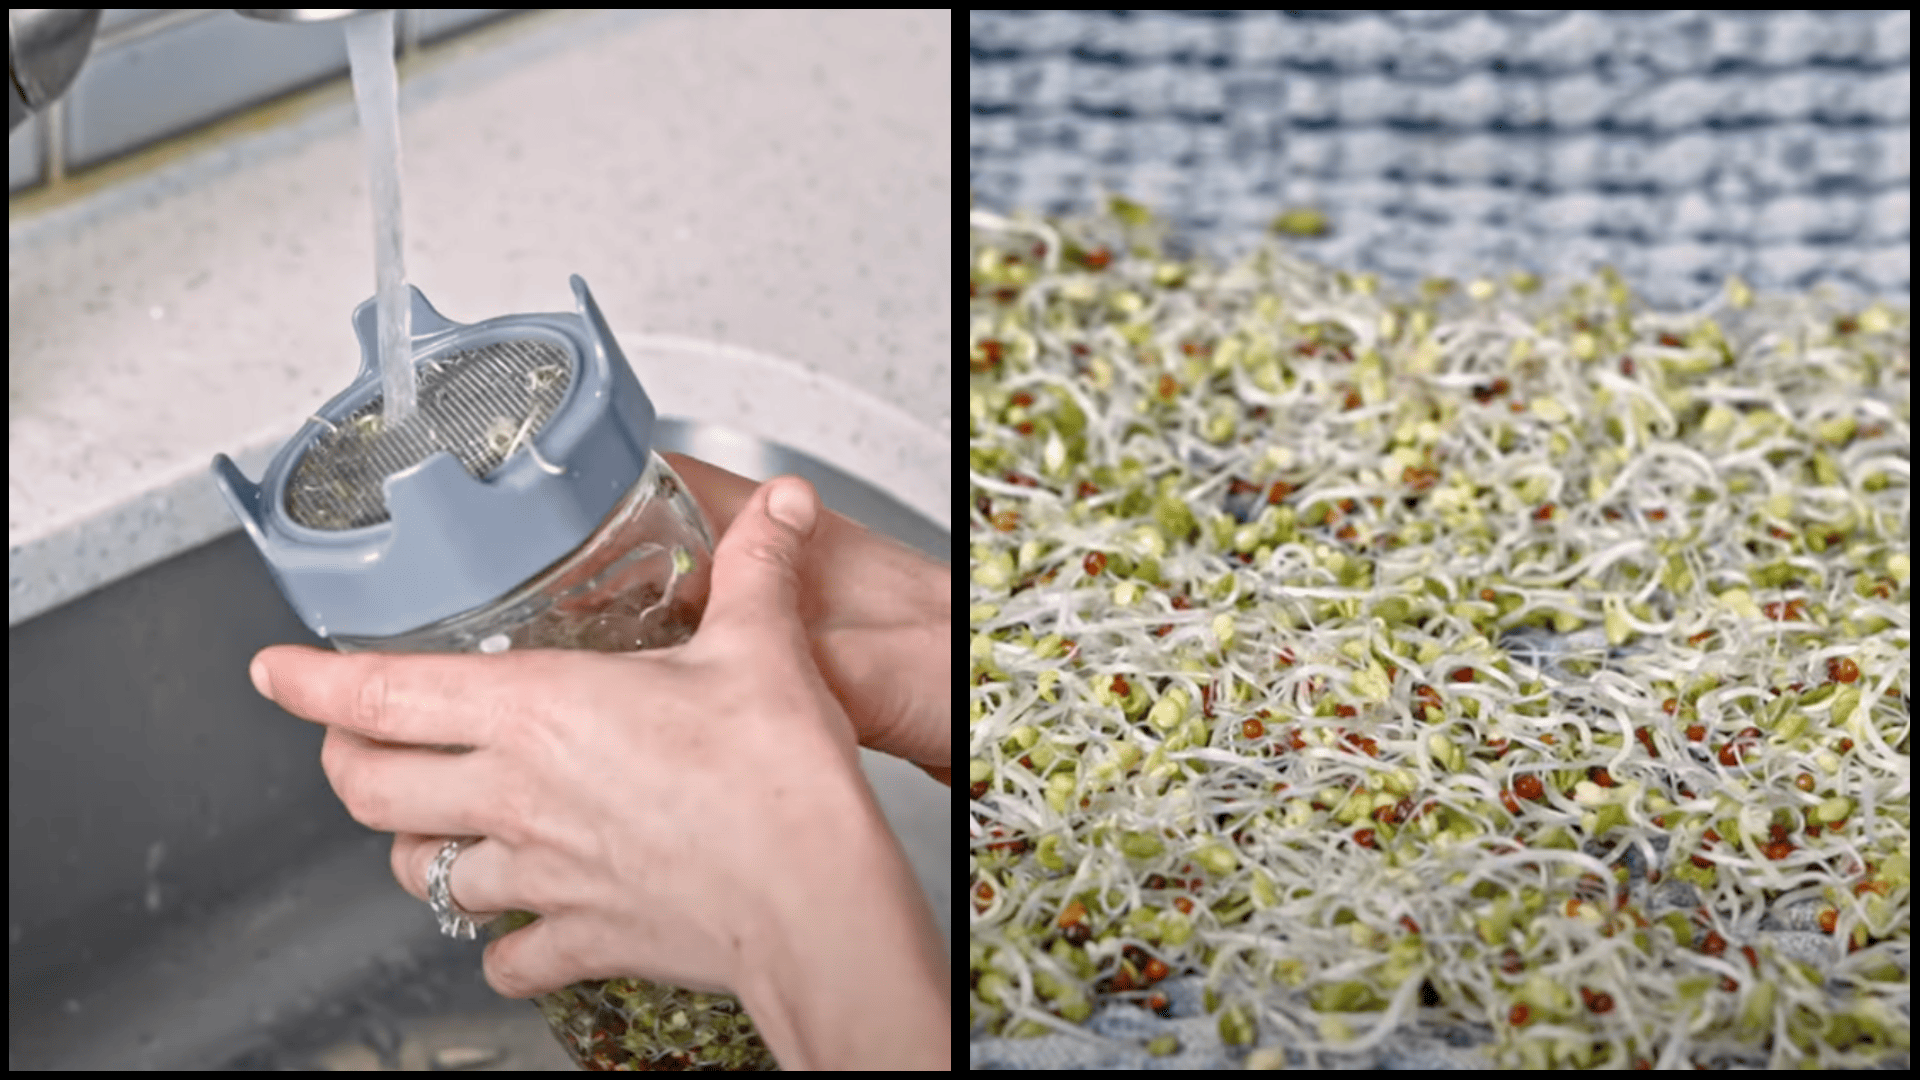
After 5–6 days, your sprouts should be ready! Give them one last rinse, spread them on a towel, and let them dry fully before storing. Pop them in the fridge and enjoy them throughout the week.
Quick Tips:
- Dry them well; moist sprouts spoil fast.
- Add them to sandwiches, salads, or your morning toast.
- Store in a sealed container and use within a week.
Watch How It’s Done: Video Tutorial
For more details, see the video explanation by Whole Shenanigans
How to Use Your Broccoli Sprouts
Once your sprouts are ready, you’ve got a tasty and healthy ingredient that works with just about anything.
Add a handful to salads, sandwiches, wraps, or grain bowls for a fresh crunch. Mix them into smoothies for a nutrient boost you won’t even taste, or sprinkle them on top of stir-fries and soups just before serving.
Aim for 1–2 tablespoons a day; that small amount packs significant health benefits without significantly altering the flavor.
Just remember: don’t cook them. Heat breaks down the beneficial compounds, so always add sprouts as a final touch after cooking.
Their mild, peppery flavor and crisp texture make them a great addition to almost every meal.
Brocolli Sprouts: Common Issues and How to Fix Them
Running into problems while growing broccoli sprouts is normal, especially when you’re just getting started.
Most issues are easy to fix once you know what’s going wrong.
| Problem | Cause | Solution |
|---|---|---|
| Mold growth | Too much moisture or not enough airflow | Improve drainage and keep the jar well-ventilated |
| Seeds not sprouting | Old seeds, cold water, or not soaking long enough | Use fresh seeds, soak in lukewarm water for 8–12 hrs |
| Bad smell or slime | Bacteria from poor rinsing or dirty supplies | Rinse twice daily and clean all tools well |
| Slow or uneven growth | Too many seeds, low temps, or weak seed quality | Use fewer seeds, keep temps 65–75°F, buy good seeds |
Most sprout troubles come down to water, air, or cleanliness. If you stay on top of those three things, your sprouts will stay healthy and fresh.
A few small changes go a long way!
Tips to Succeed in Sprouting Broccoli
A few simple habits can make a big difference when it comes to sprouting. These tips will help you grow fresh, healthy broccoli sprouts with less fuss and better results.
- Keep everything clean: Always wash your hands, jars, and lids before starting. Clean gear keeps mold away.
- Use filtered water: If your tap water has chlorine, use filtered or bottled water instead. It helps seeds sprout faster.
- Start small: Begin with just one tablespoon of seeds. It’s easier to manage while you learn the routine.
- Set reminders: Rinse your sprouts twice a day. Phone alerts help you stay on track, especially when life gets busy.
Once you get into the rhythm, sprouting becomes second nature. These small steps lead to fresh, crunchy sprouts week after week!
Wrapping It Up
I get it; growing broccoli sprouts might sound tricky at first. But once you try it, you’ll see it’s one of the easiest ways to grow fresh, healthy food at home.
Simply soak the seeds, rinse twice a day, and in under a week, you’ll have a jar full of crisp, nutrient-rich sprouts.
You’ll save money, skip the preservatives, and enjoy the full power of sulforaphane every day. Even better, you can do this any time of year, no garden required.
Start with the mason jar method if you’re new to sprouting. It’s quick, simple, and perfect for beginners.
Have questions or want to share your first batch? Drop a comment below, I’d love to hear how it goes!