Garlic is one of those crops that looks simple until harvest gets close. The plants start changing. The leaves get yellow. Advice online starts to conflict. It suddenly feels like one wrong move could ruin months of waiting.
Timing matters more than most people realize, but the good news is this. Most garlic harvest mistakes are easy to avoid once you understand what the plant is doing and why.
This post walks through how to harvest garlic from the first visual signs all the way to storage. No rushing. No tricks. Just clear thinking so you can make the call with confidence.
How to Know When Garlic is Ready to Harvest
Garlic does not give you a single obvious signal. Instead, it gives a set of small clues that only make sense when you look at them together. Harvest too early, and the bulbs stay small. Wait too long, and the wrappers fall apart. The goal is balance.
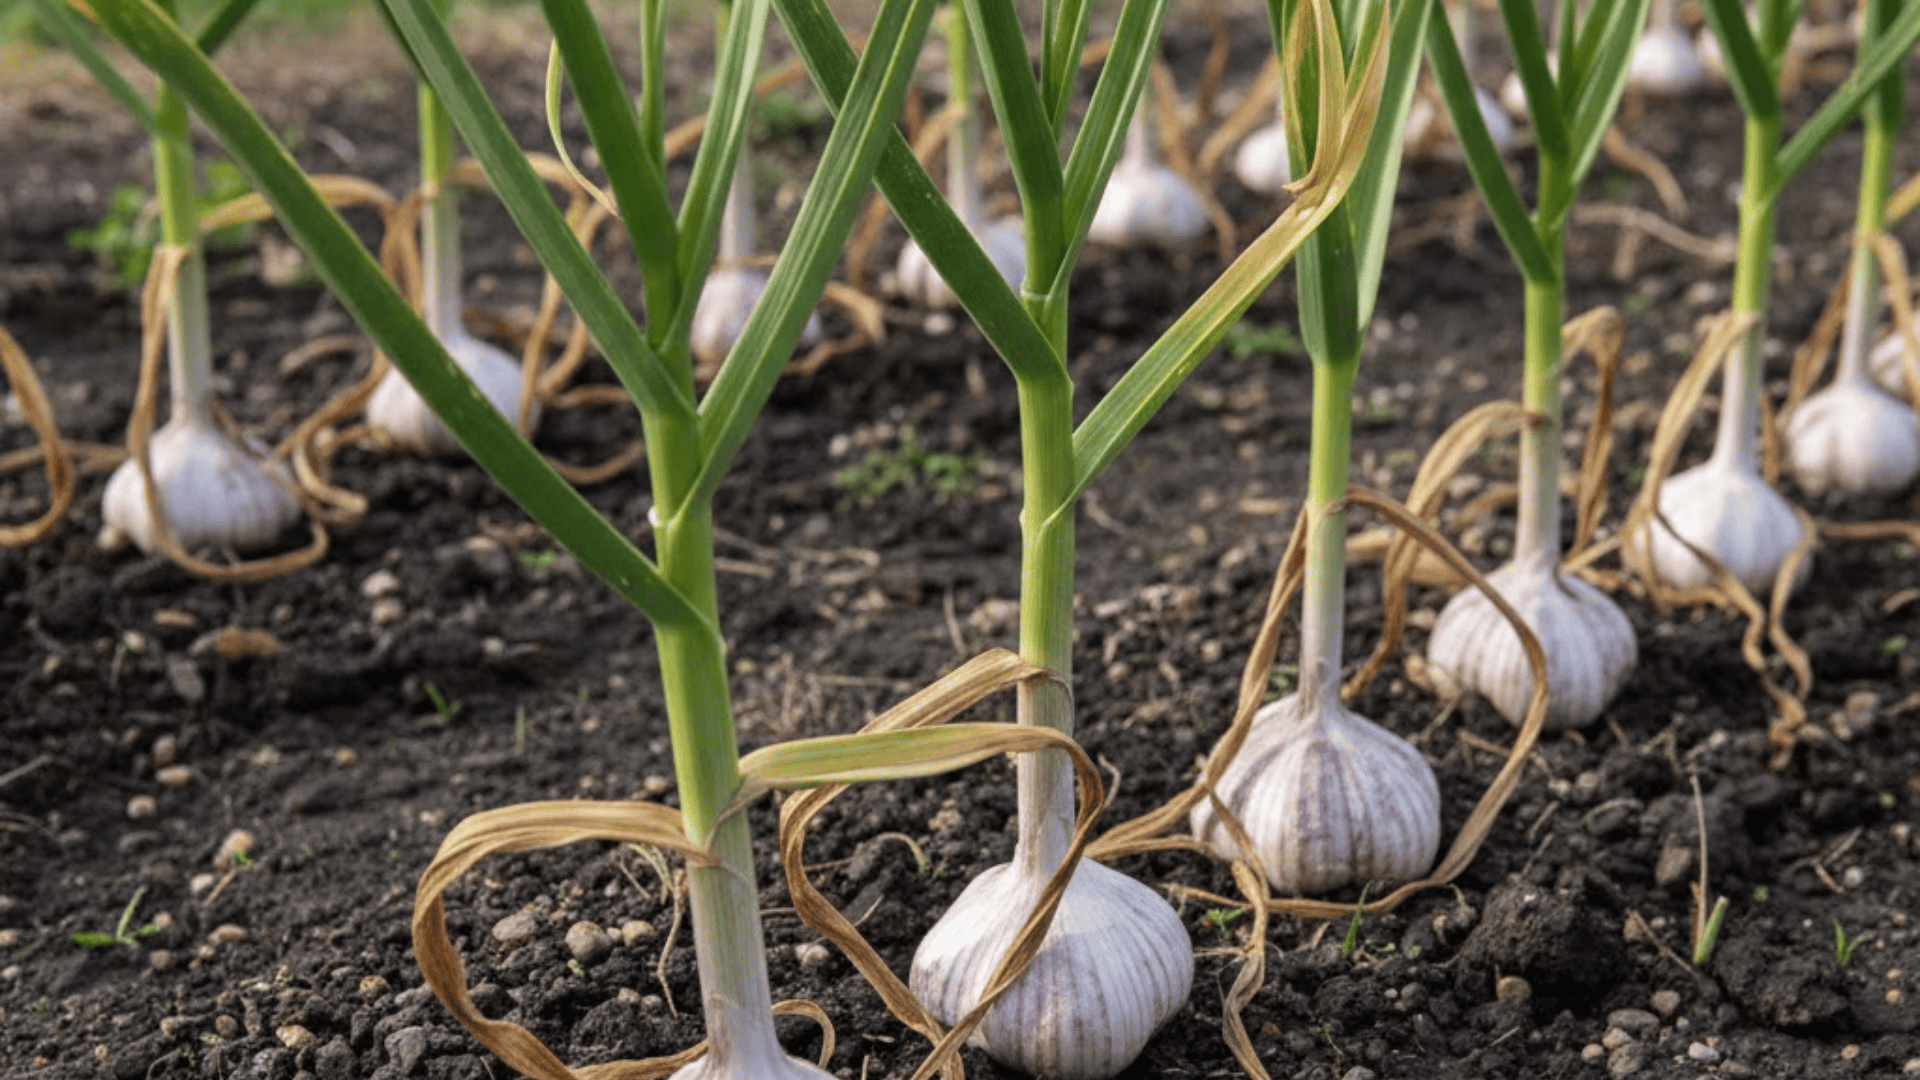
1. Leaf Color Signals that Matter
The leaves tell you what is happening underground. Garlic bulbs form layers. Each layer is protected by a wrapper made from old leaves.
When the bottom leaves turn brown, those leaves have finished their job. They are now becoming the outer wrappers around the bulb. At the same time, the upper leaves should still be green. Those green leaves mean the plant is still feeding the bulb.
The sweet spot looks like this:
- Bottom leaves are dry or mostly brown.
- Top leaves are still green and standing.
This timing matters because intact wrappers protect the bulb. They keep it from drying too fast. They also help it store longer. If too many leaves die before harvest, the wrappers break down.
2. Why Waiting Too Long Causes Problems
It feels safer to wait. Bigger bulbs sound better. But garlic does not keep improving once it hits maturity. When garlic stays in the ground too long, a few things happen.
- The bulb can split open. Each clove starts pushing outward.
- The protective wrappers tear and fall away.
- Moist soil can reach the cloves and cause rot.
Split bulbs are still usable, but they do not store well. Once the wrappers fail, the clock starts ticking. That is why late harvest garlic often molds in storage even when cured carefully.
3. Timing Based on Planting Month
Planting time sets the rhythm for harvest, but weather can shift it.
Garlic planted in October usually finishes earlier. It had more time to establish roots before winter. In many regions, this garlic is ready in late June or early July.
Garlic planted in November often runs a bit later. Expect harvest closer to mid or late July.
Climate matters too. Warm springs speed things up. Cool, wet seasons slow them down. Always trust the leaves more than the calendar.
Hardneck vs. Softneck Garlic Harvest Timing
Garlic type changes how you read the signs. Hardneck and softneck bulbs behave differently above ground, even when the bulbs mature in similar ways.
Hardneck Garlic Signs
Hardneck garlic sends up a flower stalk called a scape. Once scapes appear, the plant shifts energy toward bulb growth.
After scapes are removed, harvest usually follows in about three to four weeks. During that window, leaf color becomes the final check.
Hardneck garlic is ready when the lower leaves are brown and the top few are still green. Waiting longer often leads to split bulbs, especially after rain.
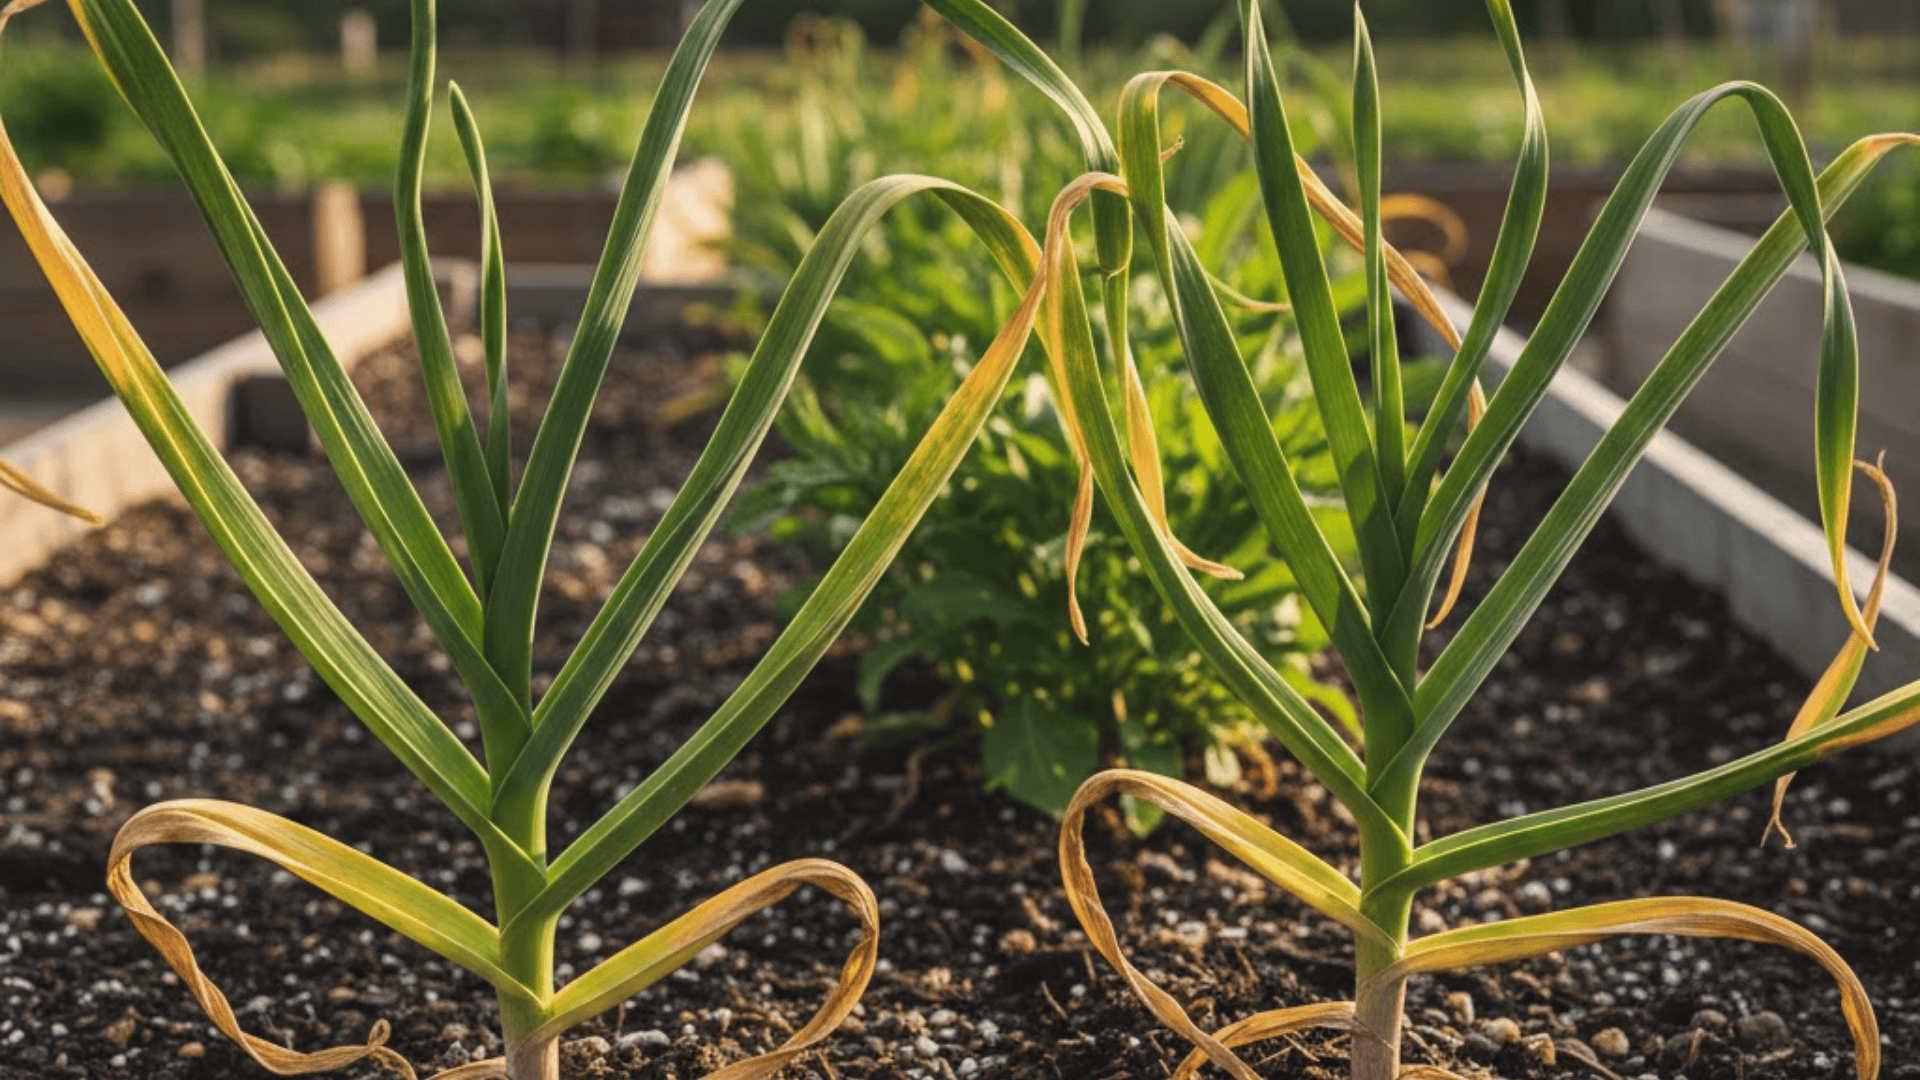
Softneck Garlic Signs
Softneck garlic does not produce scapes. Leaf color is the only signal.
Watch for about half the leaves to yellow. The plant may start to lean or fall over. That is normal.
If you plan to braid garlic, timing matters even more. Harvest while the leaves still have some flexibility. Once they fully dry in the ground, braiding becomes harder.
Step-by-Step: How to Harvest Garlic Without Damaging It
Garlic bulbs bruise easily. Damage you cannot see at harvest often shows up weeks later in storage. Slow and gentle wins here.
Tools You Actually Need
- A garden fork works best. It loosens soil without slicing bulbs.
- A shovel can work if used carefully, but sharp edges increase risk.
Avoid pulling garlic by the stem. Stems snap easily, especially when dry.
How to Loosen and Lift the Bulbs
Step 1: Start a few inches away from the stem. Push the fork straight down. Wiggle it back slightly to loosen the soil.
Step 2: Lift the soil, not the plant. Once loose, slide your hand under the bulb and guide it out.
Step 3: If the soil is compact, work around the bulb in a circle. Patience here prevents damage.
What Not to Do
These mistakes shorten storage life fast.
- Pulling bulbs straight up by the leaves
- Washing garlic at harvest
- Tossing bulbs into buckets or piles
- Leaving harvested garlic in direct sun
Each one damages wrappers or introduces moisture where it does not belong.
If it helps to see this done in real time, watch the harvesting process here:
What to Do Right After Harvest
The first few hours after harvest matter more than most people think. This is when garlic either sets up for long storage or starts breaking down.
Cleaning Without Washing
Do not rinse garlic. Water gets trapped under the wrappers and invites mold.
Instead, gently brush off loose soil with your hands. Leave the skins intact. They are part of the protection system.
If the soil is sticky, let it dry first. It will fall off more easily later.
Handling Broken Stems or Loose Bulbs
Broken stems happen. They are not a disaster. Bulbs with broken stems can still be cured and stored. Just keep them separate and use them first.
If a bulb breaks into loose cloves, use those quickly. They are not suited for long storage, but they are fine for cooking.
How to Cure Garlic for Long Storage
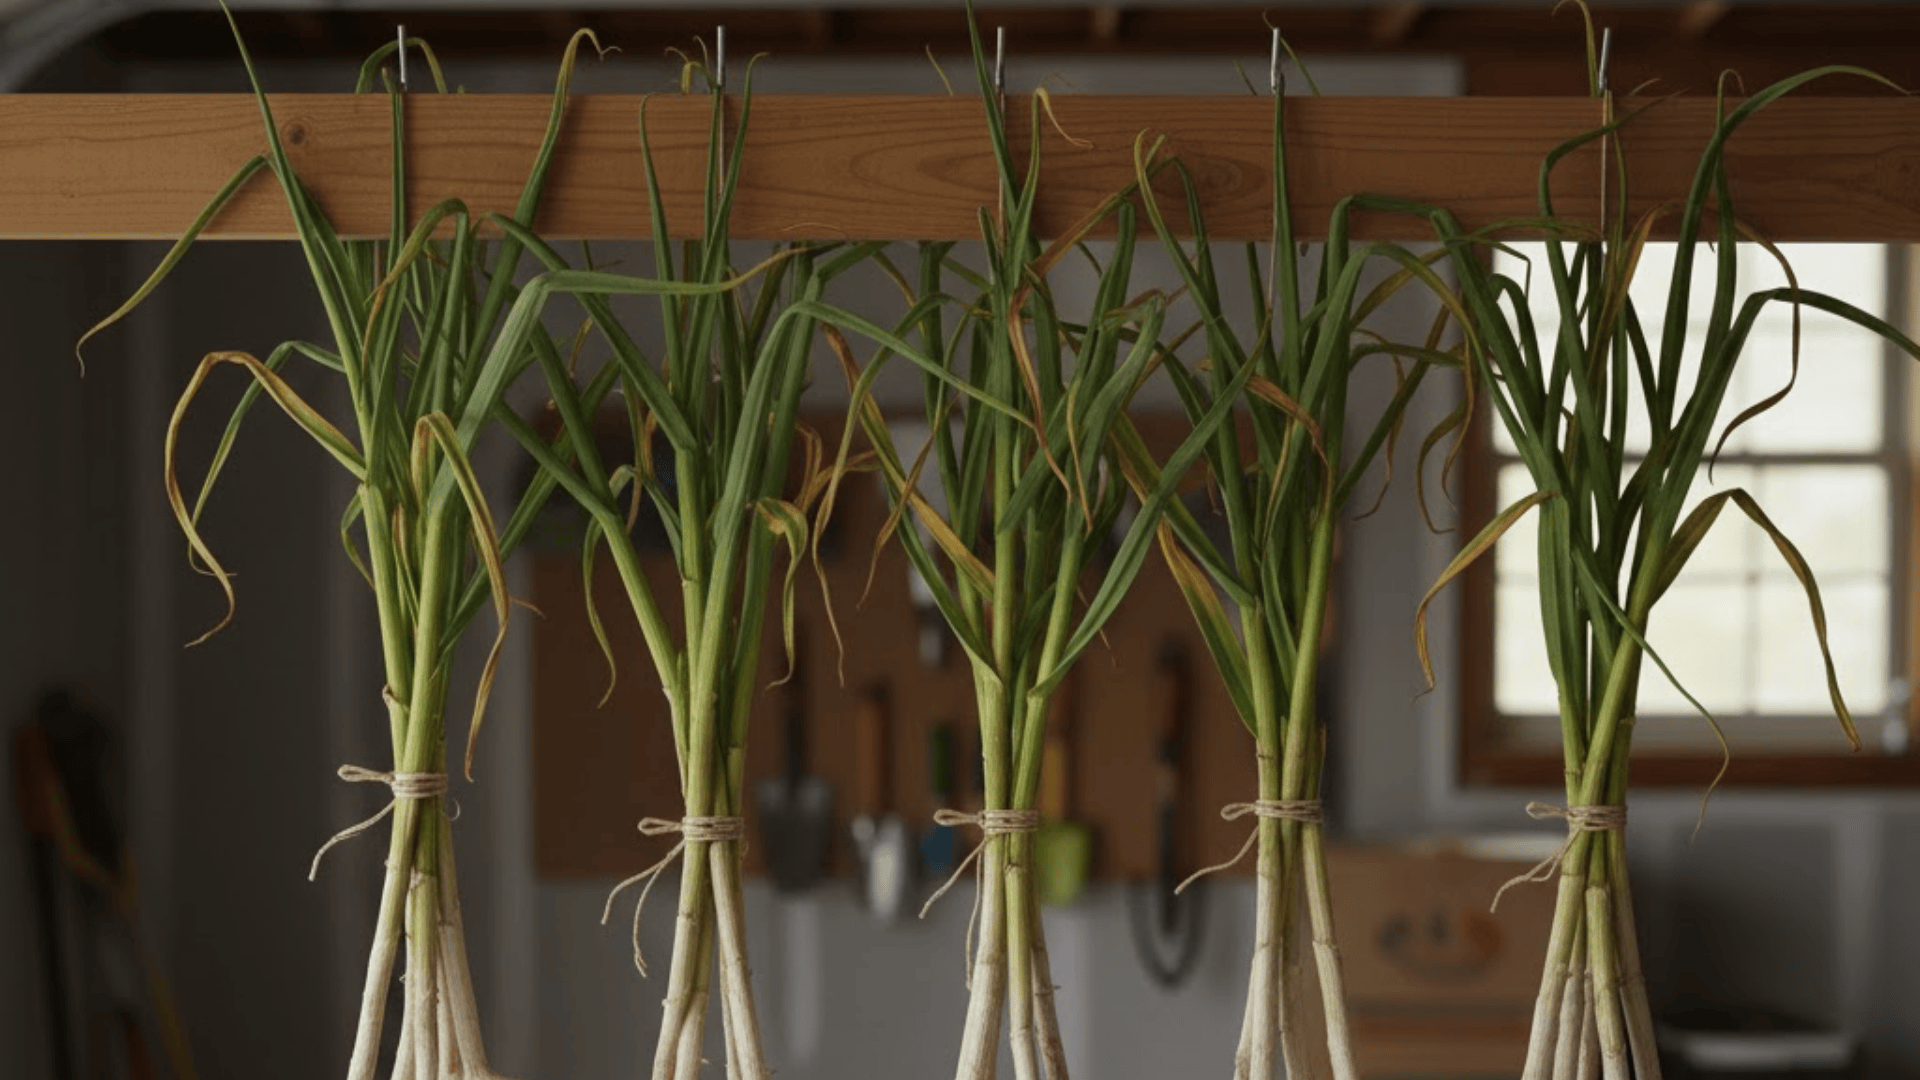
Curing is not optional. It is the process that turns freshly pulled garlic into something that lasts for months.
Best Place to Cure Garlic
Garlic needs three things while curing.
- Good airflow keeps moisture from building up.
- Shade prevents sun damage.
- Moderate temperatures help wrappers dry evenly.
A garage, shed, or covered porch often works well. Hang garlic in small bundles or lay it on screens. Do not pile it deep.
How Long Does Curing Take
Curing usually takes three to six weeks. You will know it is done when the stems feel dry and papery and the outer skins tighten around the bulb.
Rushing this step leads to mold later. Garlic that feels dry on the outside can still hold moisture inside. Time is what fixes that.
How to Store Garlic After Curing
Once garlic is fully cured, it becomes much easier to handle, but storage still matters. This is the stage where small choices decide whether your garlic lasts a few weeks or several months. The goal is to keep it dry, breathable, and stable.
Trim the roots close to the bulb once they are completely dry. Cut the stems down to about an inch for loose bulbs. If you plan to braid, leave the stems long and flexible so they don’t snap.
Garlic stores best when air can move around it. Mesh bags, wire baskets, or lightly filled paper bags all work well. Keep it in a cool, dry spot out of direct light. Avoid sealed containers and don’t refrigerate whole bulbs.
Common Garlic Harvest Mistakes and Fixes
Most garlic problems come down to timing and moisture. These are easy mistakes to make, especially early on, and each one has a clear reason behind it.
- Too early in the ground, garlic hasn’t finished bulbing yet, which leads to small, underdeveloped bulbs. Leaf color tells the truth here, not size or guesswork.
- Left in the ground too long, garlic bulbs begin splitting apart, which breaks their natural protection and shortens storage life. Use these bulbs first.
- Heavy rain close to harvest traps excess moisture around the bulb and raises the risk of rot. Waiting a few dry days helps the skins firm back up.
- Split bulbs still taste great and are completely usable, but their storage life is limited once the wrappers fail.
- Mold during storage almost always comes from retained moisture, usually caused by rushed curing or poor airflow during drying.
Each of these mistakes points to a small adjustment, not a failure. Once you see the pattern, the next harvest gets easier and more predictable.
Can You Eat Garlic Right After Harvest?
Yes, freshly harvested garlic is safe to eat, but it behaves very differently from the garlic most people are used to buying.
At this stage, the plant still holds a lot of moisture, and the flavor hasn’t fully developed yet. That difference catches many people off guard if they expect the same punch and texture as cured garlic.
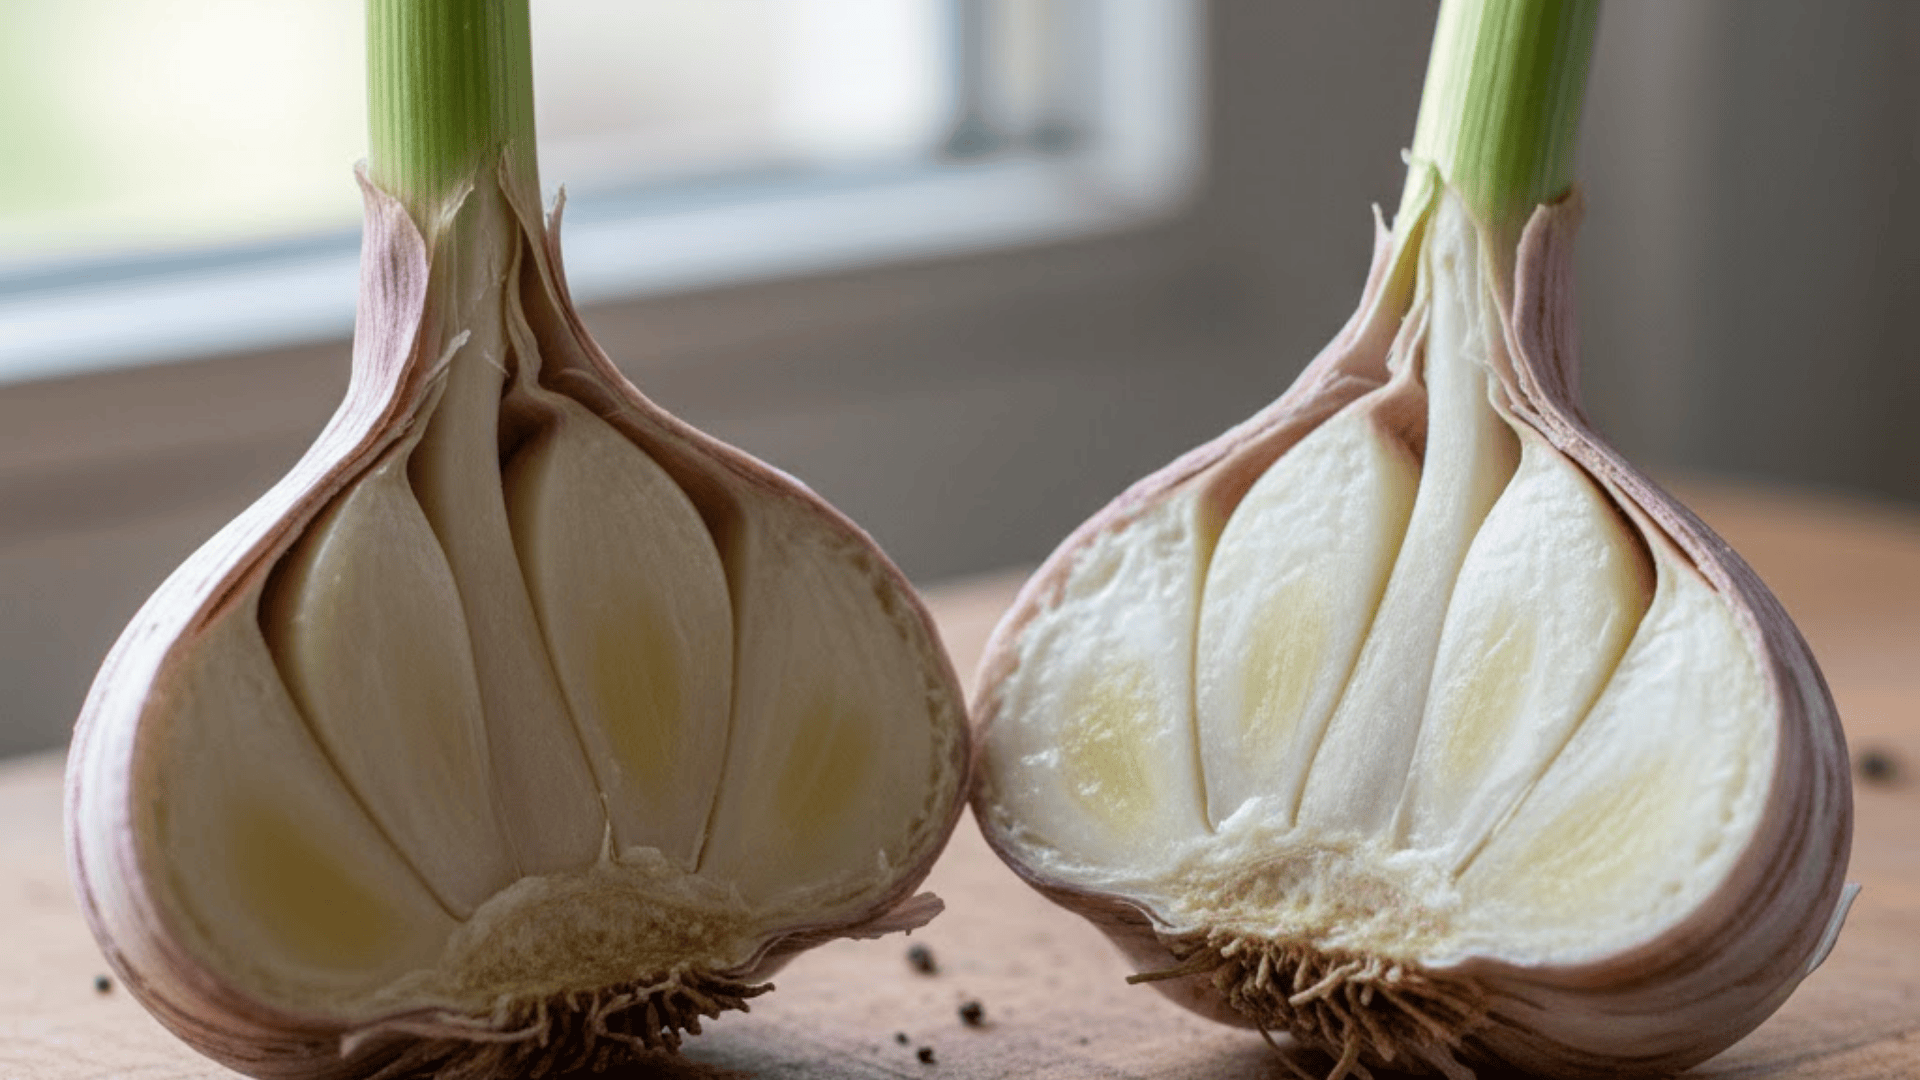
Fresh Garlic vs. Cured Garlic
Fresh garlic has a milder, greener flavor and a juicier texture. The cloves are tightly packed and harder to peel because the outer skins haven’t dried yet.
It works best in quick cooking, light sautés, dressings, and fresh dishes where you don’t want the garlic to overpower everything else.
Cured garlic develops a stronger, sharper flavor as moisture slowly leaves the cloves. The skins dry and loosen, making the cloves easier to separate and store.
This is the garlic that works best for roasting, long simmers, and any use where bold flavor and shelf life matter.
Both forms are useful. They aren’t better or worse, just different stages of the same plant, each suited to different kinds of cooking
Saving Garlic for Next Year’s Planting
Good seed garlic is chosen at harvest, not right before planting. This is when you can clearly see which plants performed well and which ones struggled.
Set aside the largest, healthiest bulbs with tight wrappers and no signs of splitting or damage. These bulbs carry the strongest genetics and give you the best chance at full-sized heads next season.
Store seed garlic the same way you store eating garlic, but keep it separate so it doesn’t get used by accident. As planting time gets closer, check that the cloves remain firm and dry. Healthy starts lead to stronger, more reliable harvests.
Wrapping Up
Garlic doesn’t ask for perfection. It asks for attention. When you understand what the leaves are telling you, why timing matters, and how moisture affects storage, the whole process slows down and makes sense.
Harvesting stops feeling like a gamble and starts feeling like a decision you can stand behind. Most problems come from rushing or guessing, not from lack of skill.
Once you’ve gone through a full season with this awareness, harvesting garlic becomes easier every year after that.
The next step is simple. Watch your plants closely, trust the signals, and let experience reinforce what you now understand.